
Orthodontics and Clear Aligners
Master Rubber Band Invisalign: Step-by-Step Usage Guide

Introduction
Navigating orthodontic treatment can feel overwhelming, especially when it comes to using rubber bands with Invisalign. These small but essential elastics are key to helping your teeth shift into the right positions, but they can also feel tricky to manage. Many patients find themselves confused and overwhelmed by how to use these elastics properly, which can lead to setbacks in their treatment journey.
So, how can you confidently master the use of rubber bands and make the most of your Invisalign experience? This guide will provide you with the right knowledge and support, empowering you to embrace the use of rubber bands and move closer to your dream smile.
Understand the Purpose of Rubber Bands in Invisalign
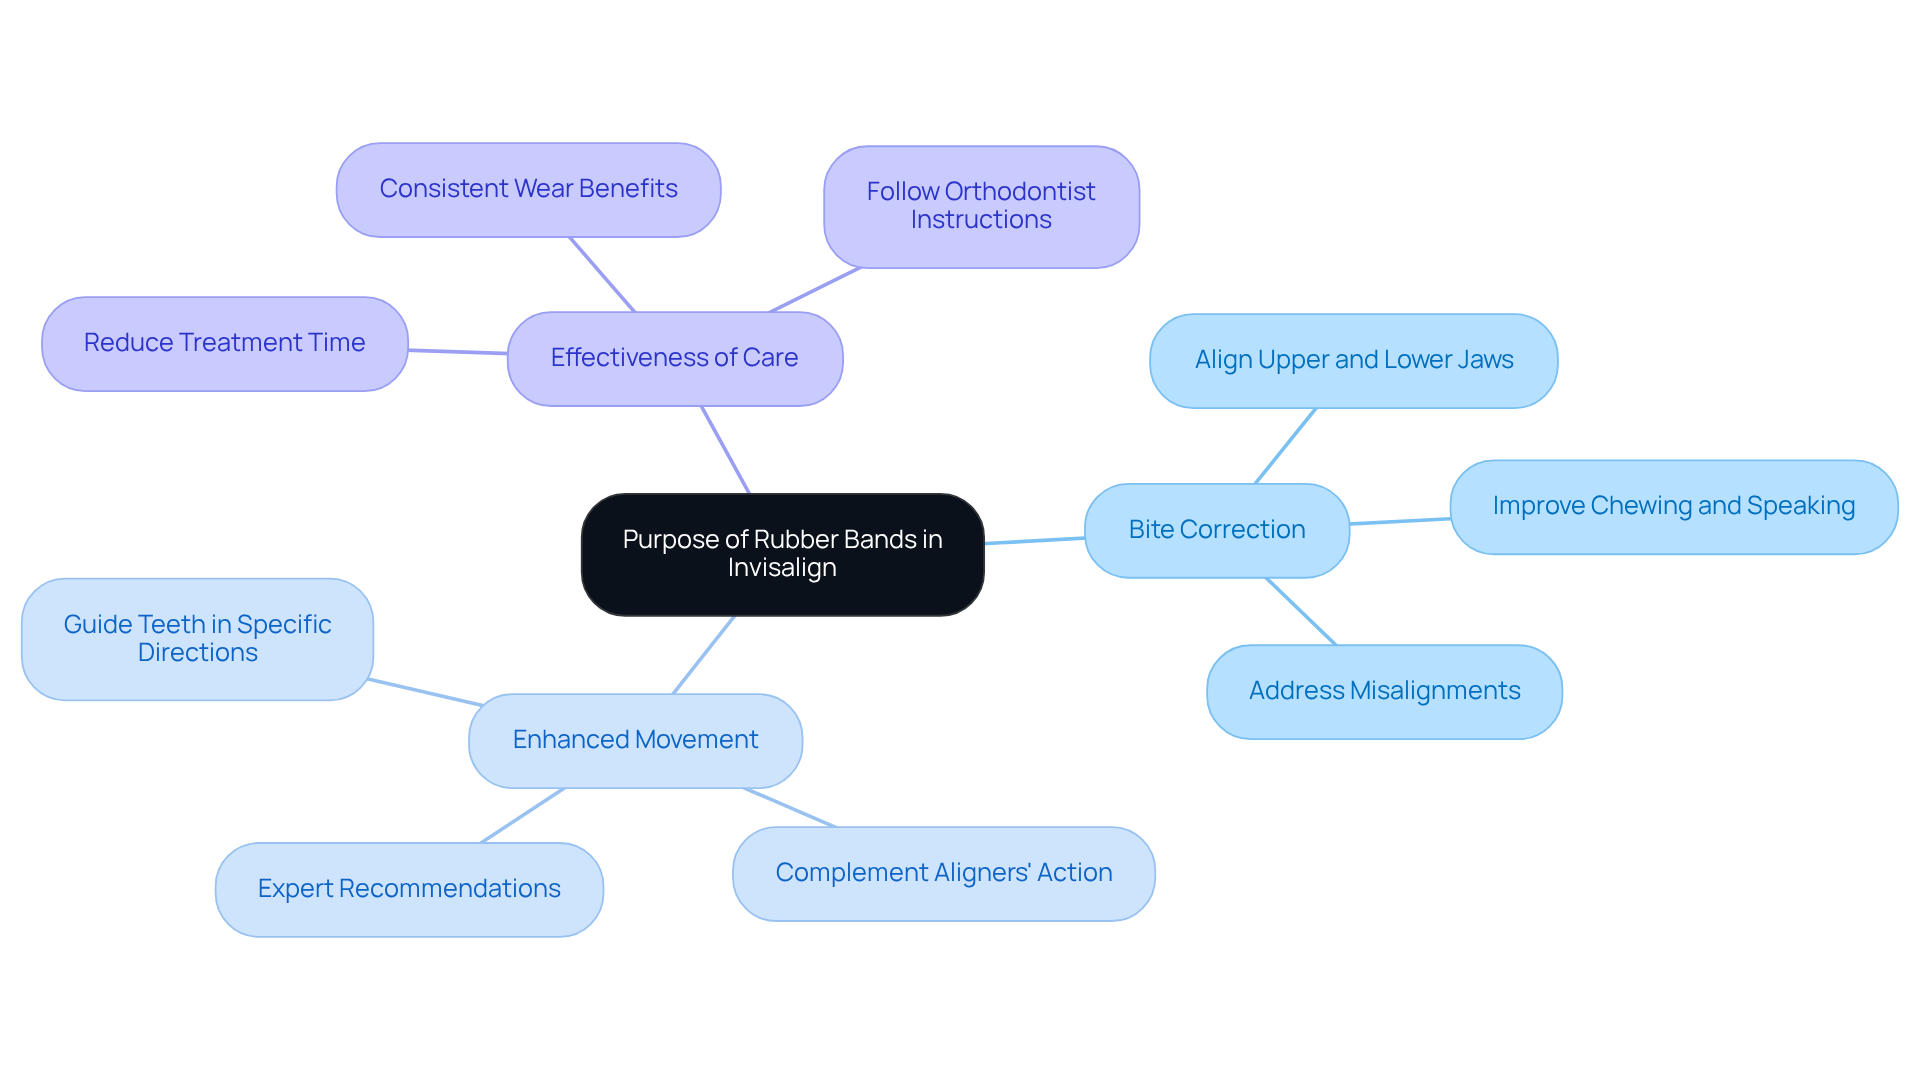
You might be wondering how to achieve the best results with your Invisalign treatment, and that’s where rubber band invisalign comes into play. These small yet powerful components apply additional force to your teeth, helping to address bite issues like overbites, underbites, and crossbites. By connecting the upper and lower aligners, rubber band invisalign assists in moving your teeth into their desired positions, which aligners alone may not accomplish. Without these elastics, you may find your treatment taking longer than expected, which can be frustrating and disheartening.
Key Functions of Rubber Bands:
- Bite Correction: Rubber bands align your upper and lower jaws, addressing misalignments that can impact your ability to chew and speak comfortably. Many patients report feeling a noticeable improvement in their bite alignment when using elastics as prescribed.
- Enhanced Movement: They provide the necessary force to guide your teeth in specific directions, complementing the action of the aligners. Expert orthodontists emphasize that using rubber band invisalign can significantly enhance your overall results.
- Effectiveness of Care: Following the recommended application of elastics can help reduce the total length of your treatment by ensuring your teeth shift as planned. Patients who consistently wear their elastics often experience faster results compared to those who do not.
By embracing the role of elastics in your treatment, you’re taking a significant step toward achieving the smile you’ve always wanted. In 2026, the importance of these elastics remains crucial, as they are essential for optimal outcomes. As Dr. Gardner reminds us, “Utilizing elastic straps as instructed is essential for maintaining your orthodontic care on schedule.
Apply Rubber Bands to Your Invisalign Aligners
Applying rubber band invisalign to your treatment can feel daunting, but it’s a simple step that can significantly enhance your journey. We understand that the process might seem a bit tricky at first, but with a little guidance, you’ll feel more confident in your application.
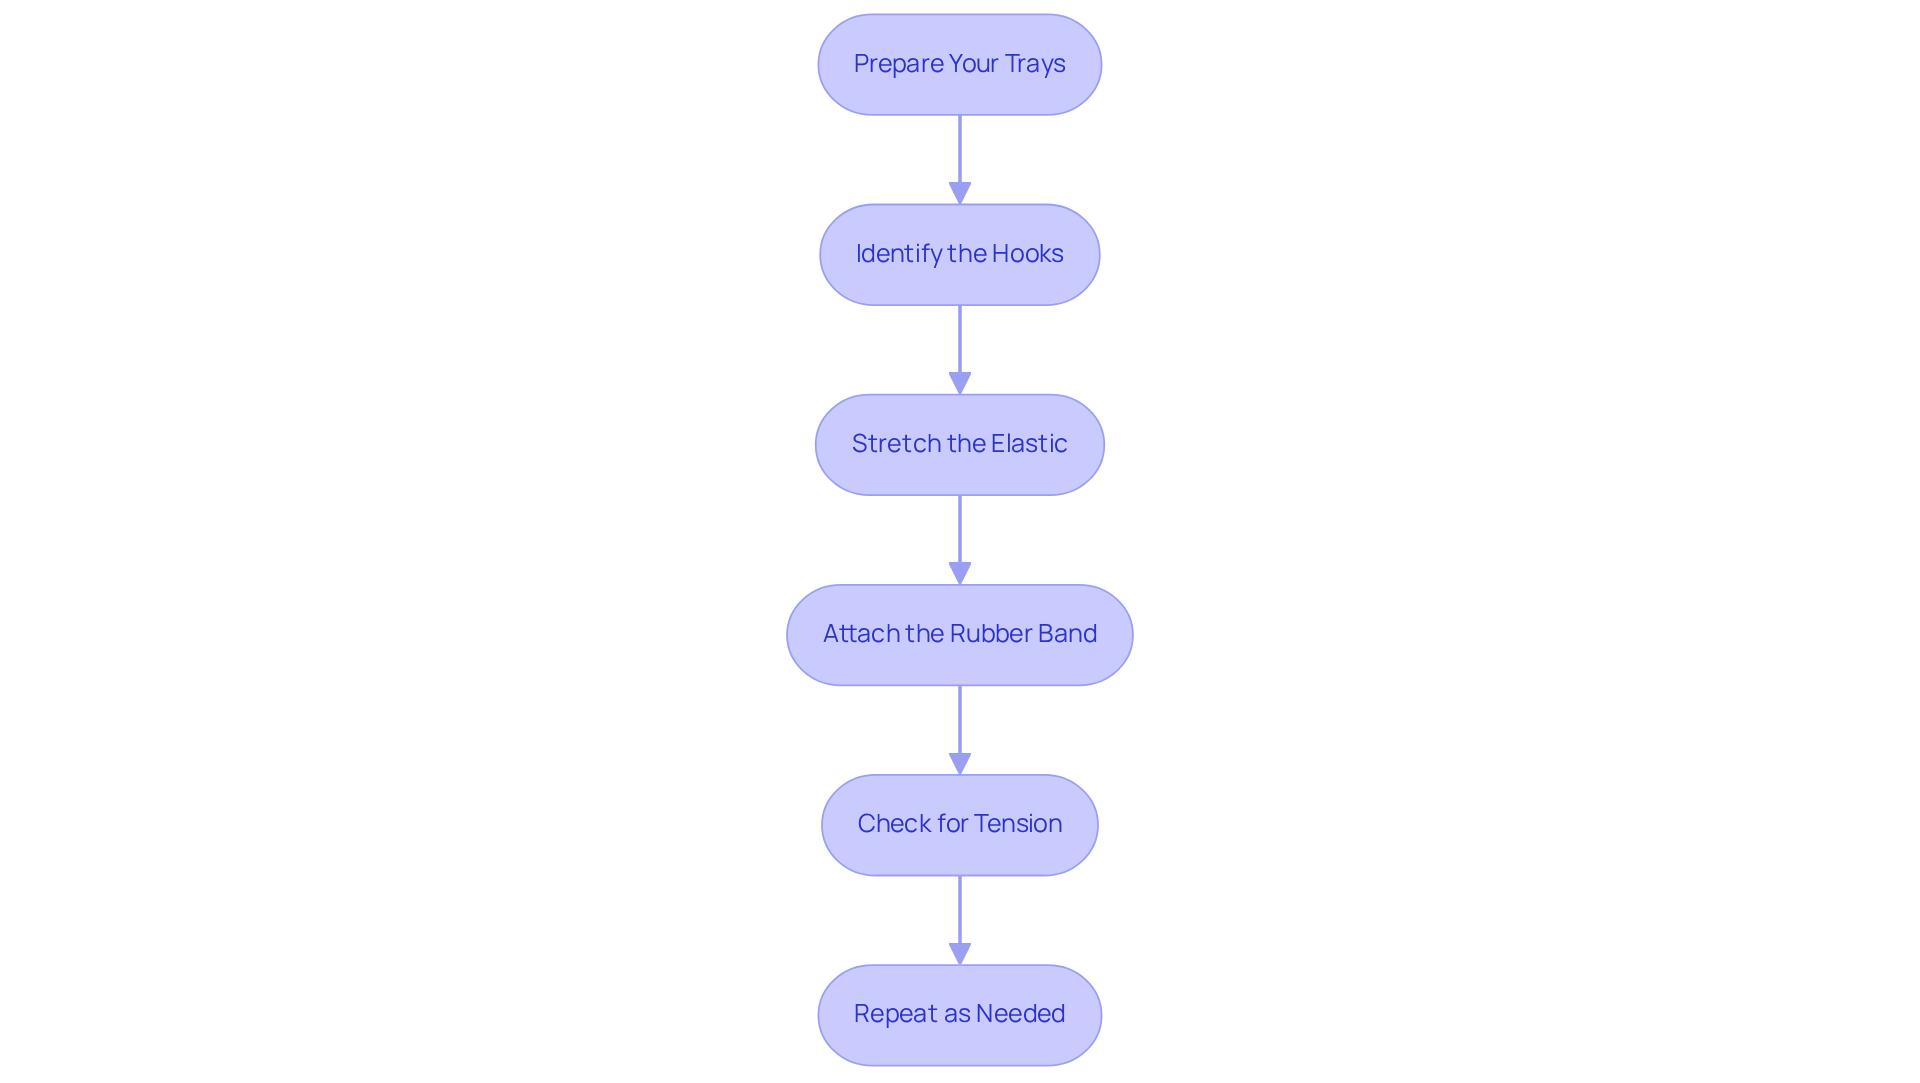
- Prepare Your Trays: We recommend making sure your Invisalign trays are clean and dry to help you feel confident in your application. If needed, eliminate any prior elastic ties.
- Identify the Hooks: Locate the small hooks on your dental appliances where the elastic connections will attach. Typically, there are hooks on both the upper and lower aligners.
- Stretch the Elastic: Take an elastic and stretch it slightly between your fingers to ensure a secure fit when applied.
- Attach the Rubber Band:
- Start with the upper aligner. Attach one end of the elastic loop onto the designated hook on the upper aligner.
- Extend the elastic down to the corresponding hook on the lower aligner and secure it.
- Check for Tension: It’s important that the elastic feels snug but not too tight, providing gentle pressure to help align your teeth comfortably.
- Repeat as Needed: If your care plan necessitates several elastic loops, repeat the procedure for each one.
By following these simple steps, you’ll feel more at ease attaching rubber band invisalign to your aligners. Using your elastic loops for 20 to 22 hours each day is key to achieving the best results, and we’re here to support you in this journey. Remember to change them every three to four hours to maintain their effectiveness. With practice, you’ll find that this process not only becomes easier but also plays a crucial role in achieving the smile you desire.
Determine How Long to Wear Rubber Bands
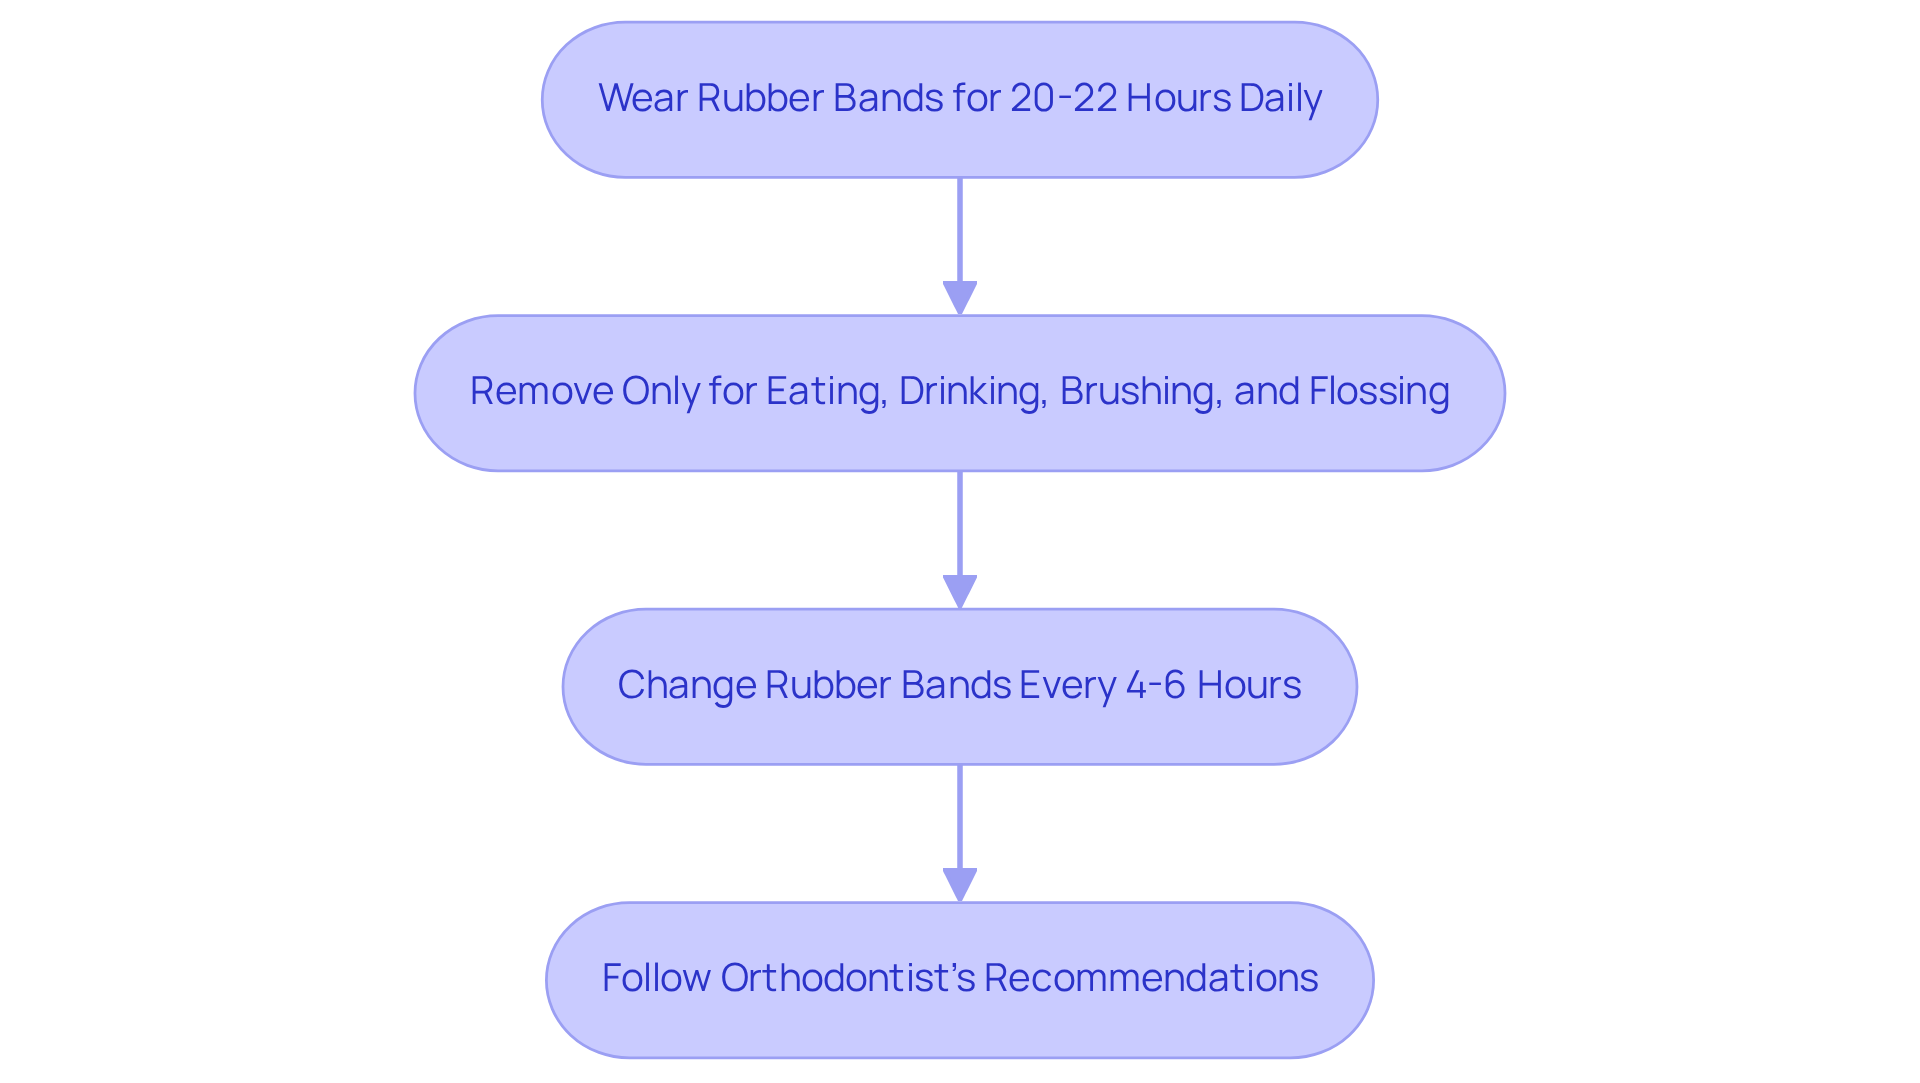
Many patients feel anxious about their treatment with rubber band invisalign, especially when it comes to using elastic straps correctly. We understand that wearing your rubber band invisalign for 20 to 22 hours each day can feel challenging, but it’s essential for your treatment success. These straps should only be removed for eating, drinking, brushing, and flossing.
We know that keeping track of when to change your rubber band invisalign can be overwhelming, but following your orthodontist’s guidance to replace them every 4 to 6 hours is crucial for consistent progress. Fresh rubber band invisalign ensures that the necessary force is consistently applied to your teeth.
It’s important to remember that consistency is key; we understand that missing hours can be frustrating, but it can extend your treatment time with rubber band invisalign and negatively affect your results.
We encourage you to follow your orthodontist’s specific recommendations closely; they are tailored to your unique care plan and will help you achieve the best results. By following these guidelines, you can feel confident that you’re taking the right steps toward a successful journey with rubber band invisalign.
Troubleshoot Common Issues with Rubber Bands
Using rubber band invisalign with your aligners can sometimes lead to challenges that may feel overwhelming. Here’s how to effectively troubleshoot them:
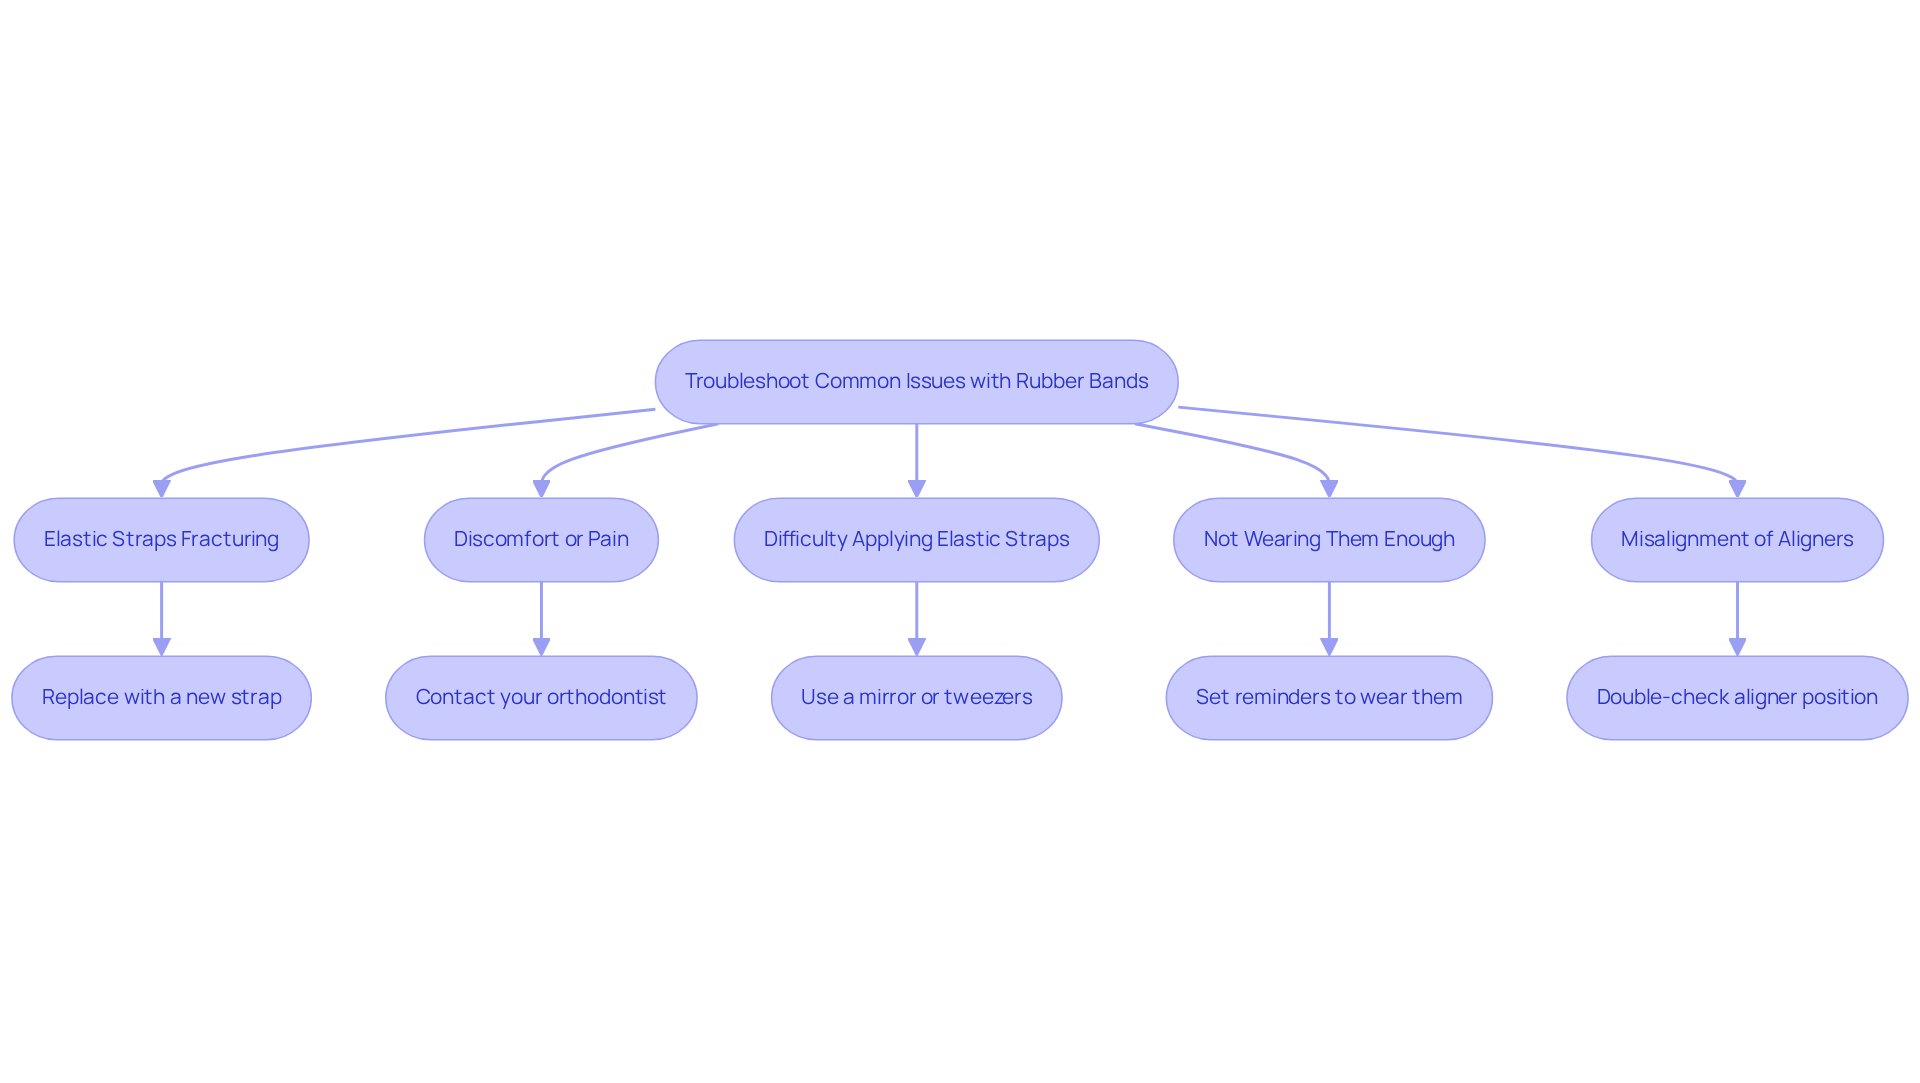
- Elastic Straps Fracturing: If an elastic strap snaps, it can be frustrating, but don’t worry-just replace it with a new one as soon as you can. Having additional rubber band invisalign options available is crucial to prevent disruptions in your treatment.
- Discomfort or Pain: It’s completely normal to feel a bit of discomfort, but it can be unsettling when it lingers. If the pain persists or becomes severe, please reach out to your orthodontist for guidance.
- Difficulty Applying Elastic Straps: If you’re having trouble applying those elastic straps, try using a mirror to get a better view. Tweezers can also help in placing the loops more easily.
- Not Wearing Them Enough: To make it easier to remember to wear your rubber band invisalign, consider setting reminders on your phone or keeping them in a spot where you’ll see your rubber band invisalign often. Research shows that patients who adhere to the recommended wear time of 20 to 22 hours per day experience significantly better treatment outcomes. Remember, you receive your trays in a series, wearing each set for two weeks, which gradually shifts your teeth toward the intended position, making consistent use essential.
- Misalignment of Aligners: If your aligners feel loose or misaligned after applying the elastic, it’s important to double-check their position. Making sure they fit snugly can help keep your treatment on track.
By staying proactive and addressing these issues, you can ensure your journey with Invisalign remains smooth and effective. Remember, consistent wear of rubber band invisalign is essential for achieving a stable, healthy bite, as emphasized by orthodontists like Dr. Jeremy Bateman.
Conclusion
Many patients feel uncertain about using rubber bands with their Invisalign, but understanding their importance can ease that anxiety. These small elastics are not just accessories; they play a vital role in correcting bite issues and enhancing the movement of your teeth. It’s completely normal to feel a bit overwhelmed, but knowing that these rubber bands are essential for your treatment can help you feel more at ease.
Throughout this guide, we’ve shared key insights, including the importance of wearing rubber bands for 20 to 22 hours daily and the step-by-step process for applying them. We understand that challenges may arise, but addressing them proactively can lead to a smoother treatment experience. Remember, consistency and following your orthodontist’s recommendations are crucial for achieving the results you desire in a timely manner.
As you navigate this journey, remember that each small effort brings you closer to the smile you deserve, and we’re here to support you every step of the way. Embracing the use of rubber bands not only enhances the effectiveness of your treatment but also empowers you to take control of your orthodontic care. You are not alone in this process, and with commitment, you can look forward to a healthier, more confident smile.
Frequently Asked Questions
What is the purpose of rubber bands in Invisalign treatment?
Rubber bands in Invisalign treatment apply additional force to teeth, helping to address bite issues such as overbites, underbites, and crossbites by connecting the upper and lower aligners.
How do rubber bands assist in teeth movement?
Rubber bands provide the necessary force to guide teeth in specific directions, complementing the action of the aligners and helping to move teeth into their desired positions.
What are the key functions of rubber bands in Invisalign?
The key functions of rubber bands include bite correction, enhanced movement of teeth, and improving the effectiveness of care by potentially reducing the total length of treatment.
How do rubber bands improve bite alignment?
Rubber bands align the upper and lower jaws, addressing misalignments that can affect chewing and speaking, leading to a noticeable improvement in bite alignment for many patients.
What impact does consistent use of rubber bands have on treatment duration?
Consistently wearing rubber bands as prescribed can help reduce the total length of treatment and lead to faster results compared to those who do not use them.
Why are rubber bands considered essential for optimal outcomes in Invisalign?
Rubber bands are essential for optimal outcomes because they enhance the effectiveness of the treatment, ensuring that teeth shift as planned and helping patients achieve their desired smile.
Need help applying this?
Talk to a billing specialist who knows your payer mix.
Westborough Dental Care welcomes new patients in South San Francisco. Book a visit to meet Dr. Zoulas and the team.
Schedule a meeting