
Oral Health and Wellness
Master Tooth Bridge Flossing: Step-by-Step Guide for Patients
Introduction
Many patients feel overwhelmed when it comes to flossing around their dental bridge, unsure of how to maintain their oral hygiene effectively. However, knowing how to care for your bridge is important for keeping both the bridge and your surrounding teeth healthy. This guide offers a comprehensive, step-by-step approach to flossing with a dental bridge, addressing common challenges and providing valuable tips to enhance the experience. With the right techniques, you can ensure your smile remains bright and healthy.
Understand What a Dental Bridge Is
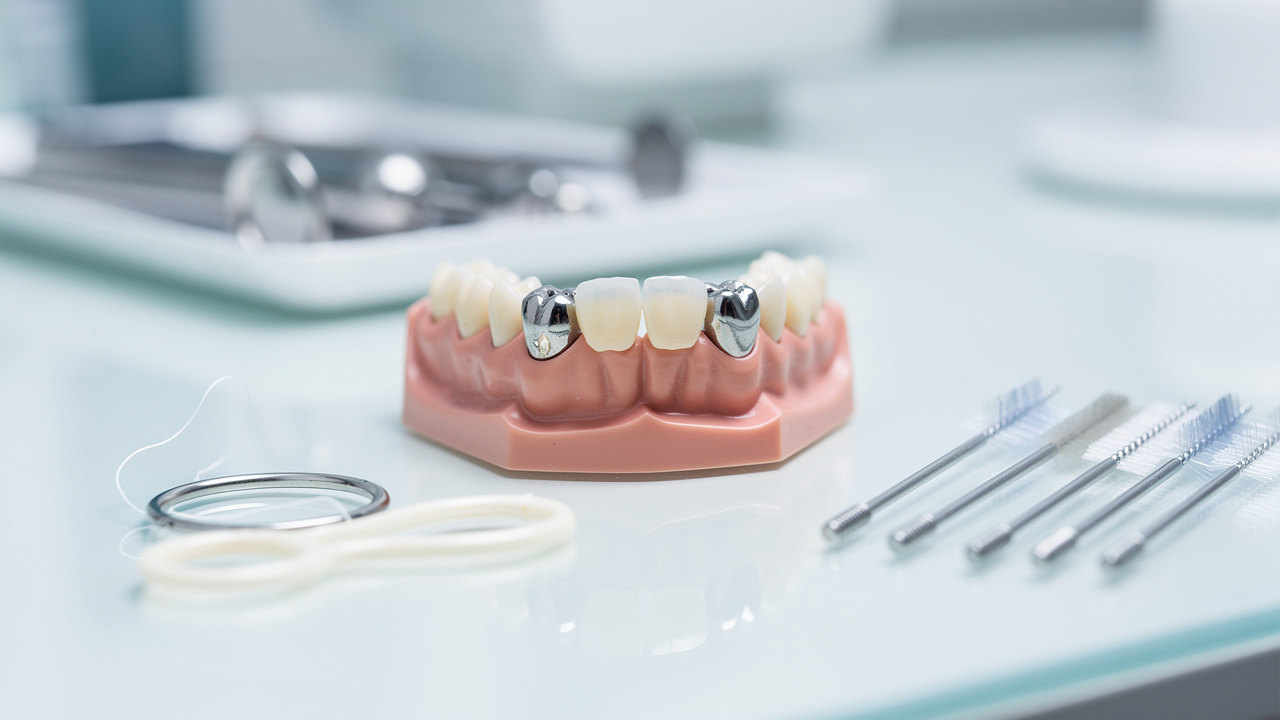
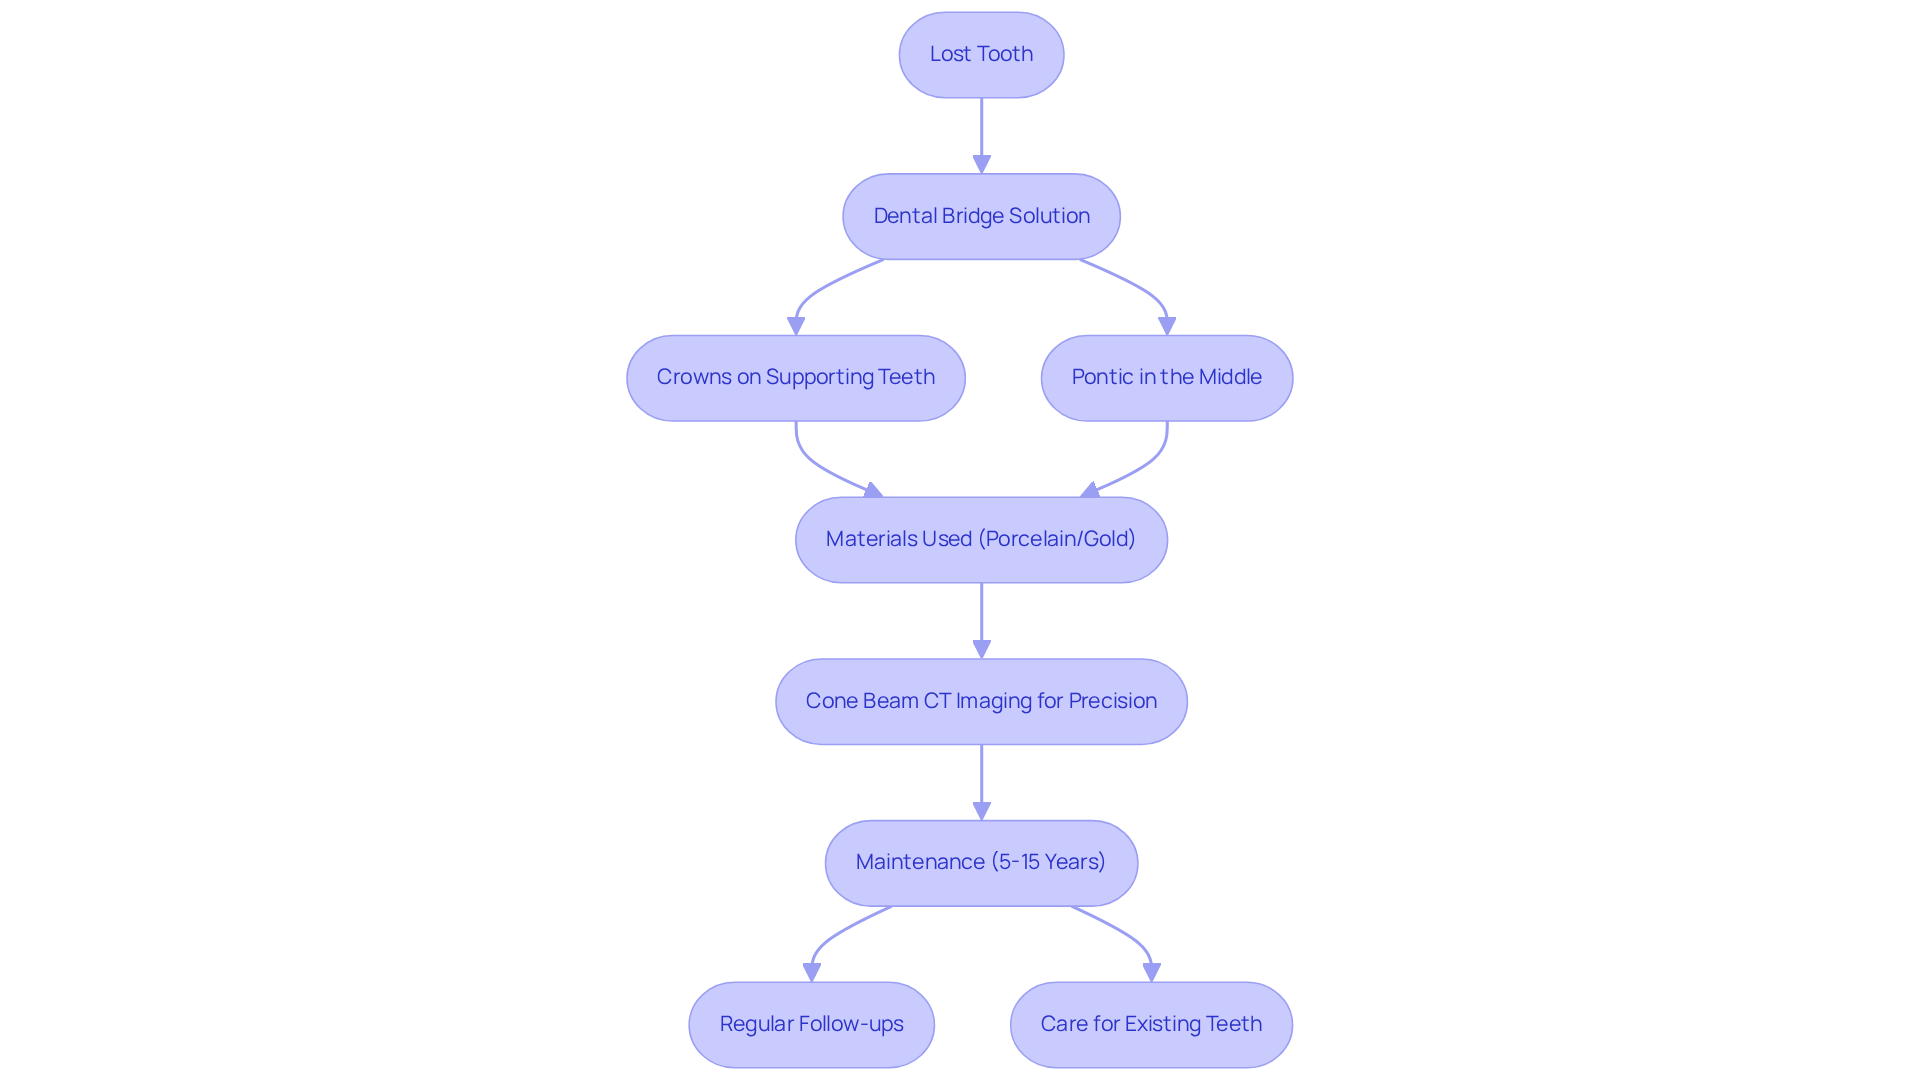
If you’ve lost a tooth, you might be feeling anxious about how it affects your smile and daily life. A tooth replacement can help restore that confidence and comfort. This solution involves two or more crowns placed on the supporting teeth on either side of the gap, with an artificial tooth, known as a pontic, in the middle. These replacements can be made from materials like porcelain or gold, designed to blend seamlessly with your natural teeth.
At Westborough Dental Care, we use advanced Cone Beam CT imaging to ensure that your treatment is as precise as possible. This technology provides high-quality 3D images, which help us plan and assess your oral structures accurately. You’ll be relieved to know that a single tooth replacement can effectively restore not just your smile but also the function of up to four adjacent teeth.
On average, an oral restoration can last between five to 15 years, and with proper maintenance, you can extend its lifespan even further. Understanding how tooth replacements work can help you feel more confident in caring for your smile and ensuring its longevity. Regular follow-up visits after placement and diligent care of your existing teeth can significantly enhance your overall oral health. With the right care and support, you can enjoy a healthy smile for years to come, knowing that you’re not alone in this journey.
Gather Necessary Tools for Flossing
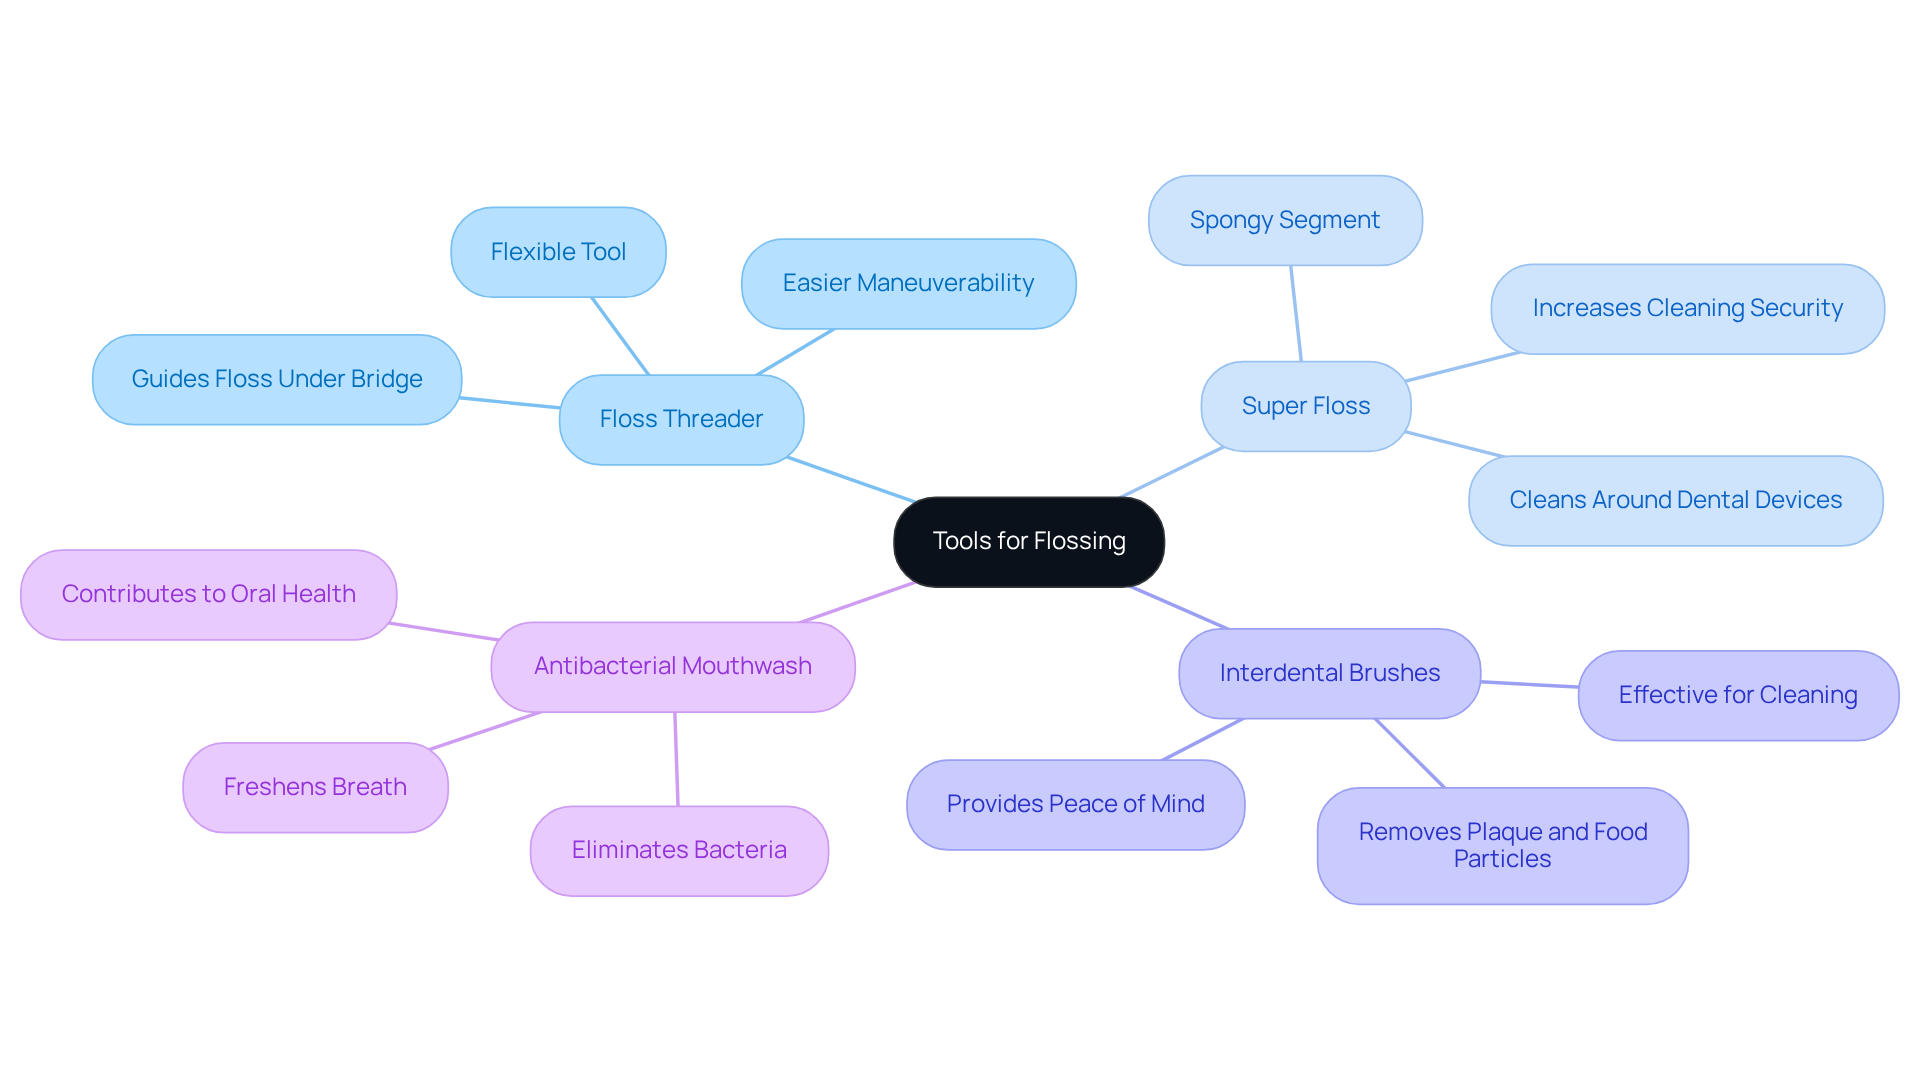
Flossing with tooth bridge floss around your dental bridge can be a source of anxiety, but it doesn’t have to be. Here are some tools that can help you feel more at ease:
- Floss Threader: This flexible tool allows you to guide the floss under the bridge, featuring a stiff end for easier maneuverability. It’s designed to make the process smoother and less stressful.
- Super Floss: Crafted with a spongy segment, super floss is perfect for cleaning around dental devices such as connectors and braces, particularly in wider spaces. It can help you feel more secure in your cleaning routine.
- Interdental Brushes: These small brushes are effective for cleaning between the dental appliance and neighboring teeth, helping to remove plaque and food particles that regular brushing might miss. They can provide peace of mind knowing you’re doing a thorough job.
- Antibacterial Mouthwash: Rinsing with an antibacterial mouthwash after using dental floss can help eliminate bacteria and freshen your breath, contributing to overall oral health. It’s a simple step that can make a big difference.
With the right tools at your fingertips, you can maintain your tooth bridge floss with confidence and ease.
Follow Step-by-Step Instructions for Flossing
Taking care of your dental bridge can feel overwhelming, but you’re not alone in this journey. Follow these steps to floss around your dental bridge effectively:
- Prepare the Dental String: Start by cutting about 18 inches of dental string; this will give you enough to work with comfortably.
- Guide the Floss Under the Arch: Gently guide the threader under the arch, choosing either the cheek or tongue side, whichever feels more comfortable for you.
- Pull the Floss Through: Once the threader is beneath the arch, pull the floss through until you have enough length to work with.
- Tooth bridge floss the area: With a gentle up-and-down motion, use tooth bridge floss to clean the area beneath the pontic and along the sides of the abutment teeth, taking care to be gentle and thorough. Avoid a side-to-side motion to prevent harming the structure.
- Repeat for All Areas: Move to the next part of the structure and repeat the process until you have cleaned all areas.
- Rinse: Once you’ve finished flossing, rinse your mouth with antibacterial mouthwash to help eliminate any debris and keep your mouth feeling fresh.
Many people feel anxious about keeping their dental bridge clean, fearing they might harm it or miss spots. By following these steps, you can feel confident in your oral hygiene routine and protect your smile.

Troubleshoot Common Flossing Issues
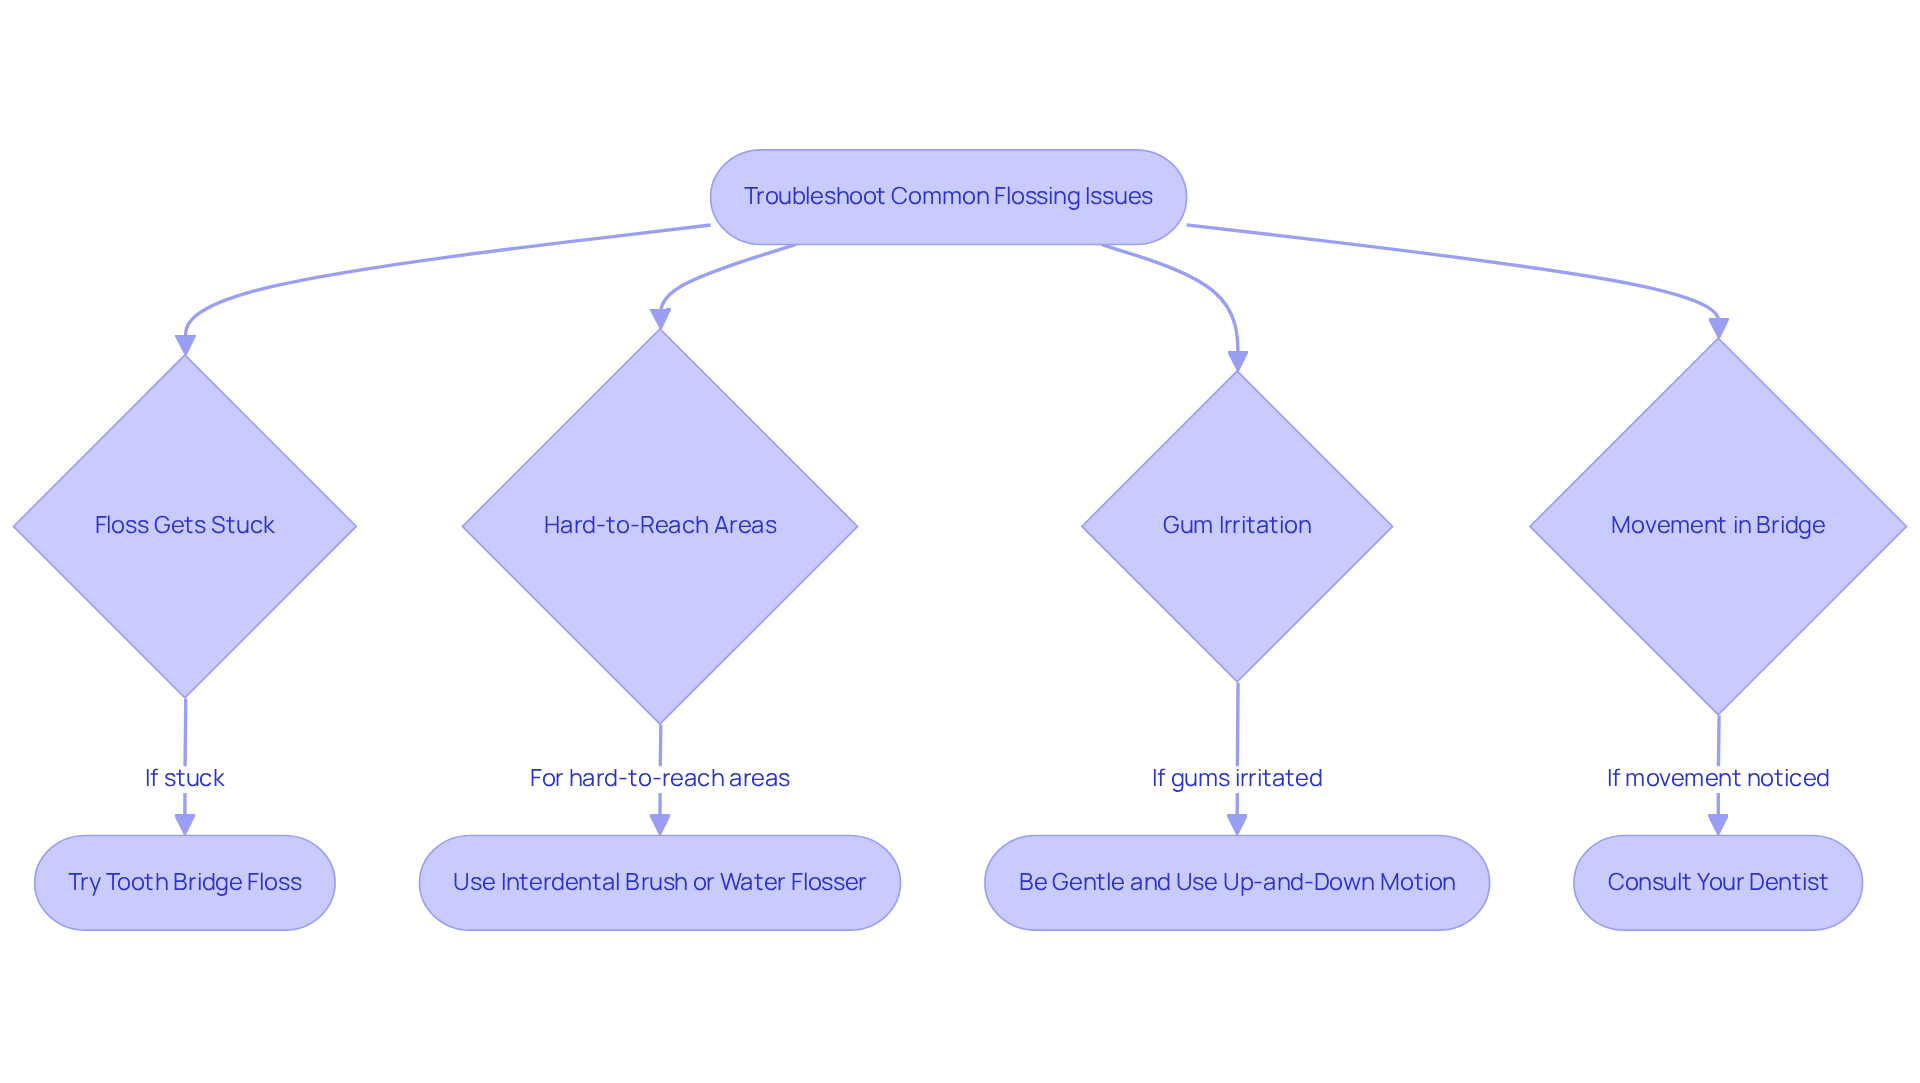
Flossing with tooth bridge floss around your dental bridge can sometimes feel challenging, but you’re not alone in this experience. If you find that the floss gets stuck, it can be frustrating and may make you anxious about your cleaning routine. Consider trying tooth bridge floss, which is specifically designed to navigate the unique contours of your bridge more easily.
For those hard-to-reach areas, using an interdental brush or a water flosser can make a world of difference. These tools help you reach those tricky spots and keep your mouth feeling fresh and clean.
If your gums feel irritated, remember to be gentle. A soft up-and-down motion can help, and if the discomfort continues, don’t hesitate to reach out to your dentist for personalized advice. It’s important to take care of your gums to avoid any further issues.
If you notice any movement in your bridge while cleaning, it’s important to stop and consult your dentist. This could indicate a need for professional attention to ensure your comfort and health.
Taking these steps not only enhances your cleaning routine but also ensures that your dental bridge remains a source of comfort and confidence when you use tooth bridge floss. Regular checkups are essential for identifying and resolving any fit issues early, so you can maintain your oral health with peace of mind.
Conclusion
Flossing around a dental bridge can feel overwhelming, but it’s a crucial part of keeping your smile healthy and bright. Many people worry about how to properly care for their dental restoration, and that anxiety is completely understandable. You are not alone in feeling this way, and we are here to help you navigate this important aspect of your oral hygiene.
We understand that knowing how a dental bridge works and how to care for it can feel daunting. The discomfort of flossing around a dental bridge can be a source of anxiety for many patients. However, using the right tools, like floss threaders and interdental brushes, can make this process much easier. By following a step-by-step approach, you can simplify your routine and alleviate any worries you may have about flossing.
When you embrace these practices in your daily routine, you’re not just caring for your dental bridge; you’re investing in your overall well-being. Troubleshooting common issues, such as stuck floss or gum irritation, empowers you to take control of your oral care. Remember, seeking professional guidance when needed is always a good idea.
By taking these steps, you can protect your dental bridge and enjoy a confident smile for years to come.
Frequently Asked Questions
What is a dental bridge?
A dental bridge is a tooth replacement solution that involves two or more crowns placed on the supporting teeth on either side of a gap, with an artificial tooth, known as a pontic, in the middle.
What materials are dental bridges made from?
Dental bridges can be made from materials like porcelain or gold, which are designed to blend seamlessly with your natural teeth.
How does Westborough Dental Care ensure precise treatment for dental bridges?
Westborough Dental Care uses advanced Cone Beam CT imaging to provide high-quality 3D images, helping to plan and assess oral structures accurately for dental bridge placement.
How many adjacent teeth can a single tooth replacement restore function for?
A single tooth replacement can effectively restore the function of up to four adjacent teeth.
What is the average lifespan of a dental bridge?
On average, a dental bridge can last between five to 15 years, and with proper maintenance, its lifespan can be extended even further.
What can enhance the longevity of a dental bridge?
Regular follow-up visits after placement and diligent care of existing teeth can significantly enhance the overall oral health and longevity of a dental bridge.
How can understanding tooth replacements help patients?
Understanding how tooth replacements work can help patients feel more confident in caring for their smile and ensuring its longevity.
Need help applying this?
Talk to a billing specialist who knows your payer mix.
Westborough Dental Care welcomes new patients in South San Francisco. Book a visit to meet Dr. Zoulas and the team.
Schedule a meeting