
Oral Health and Wellness
Best Practices for Using Tooth Bridge Cement Effectively
Introduction
We understand that choosing the right tooth bridge cement can feel overwhelming, especially with so many options available. In this guide, we’ll share comforting insights on how to prepare, apply, and care for your tooth bridge cement to ensure your dental work lasts. Navigating these choices can be daunting, but remember, you are not alone in this journey, and we are here to guide you toward the best solution for your dental needs.
Understand Tooth Bridge Cement: Types and Functions
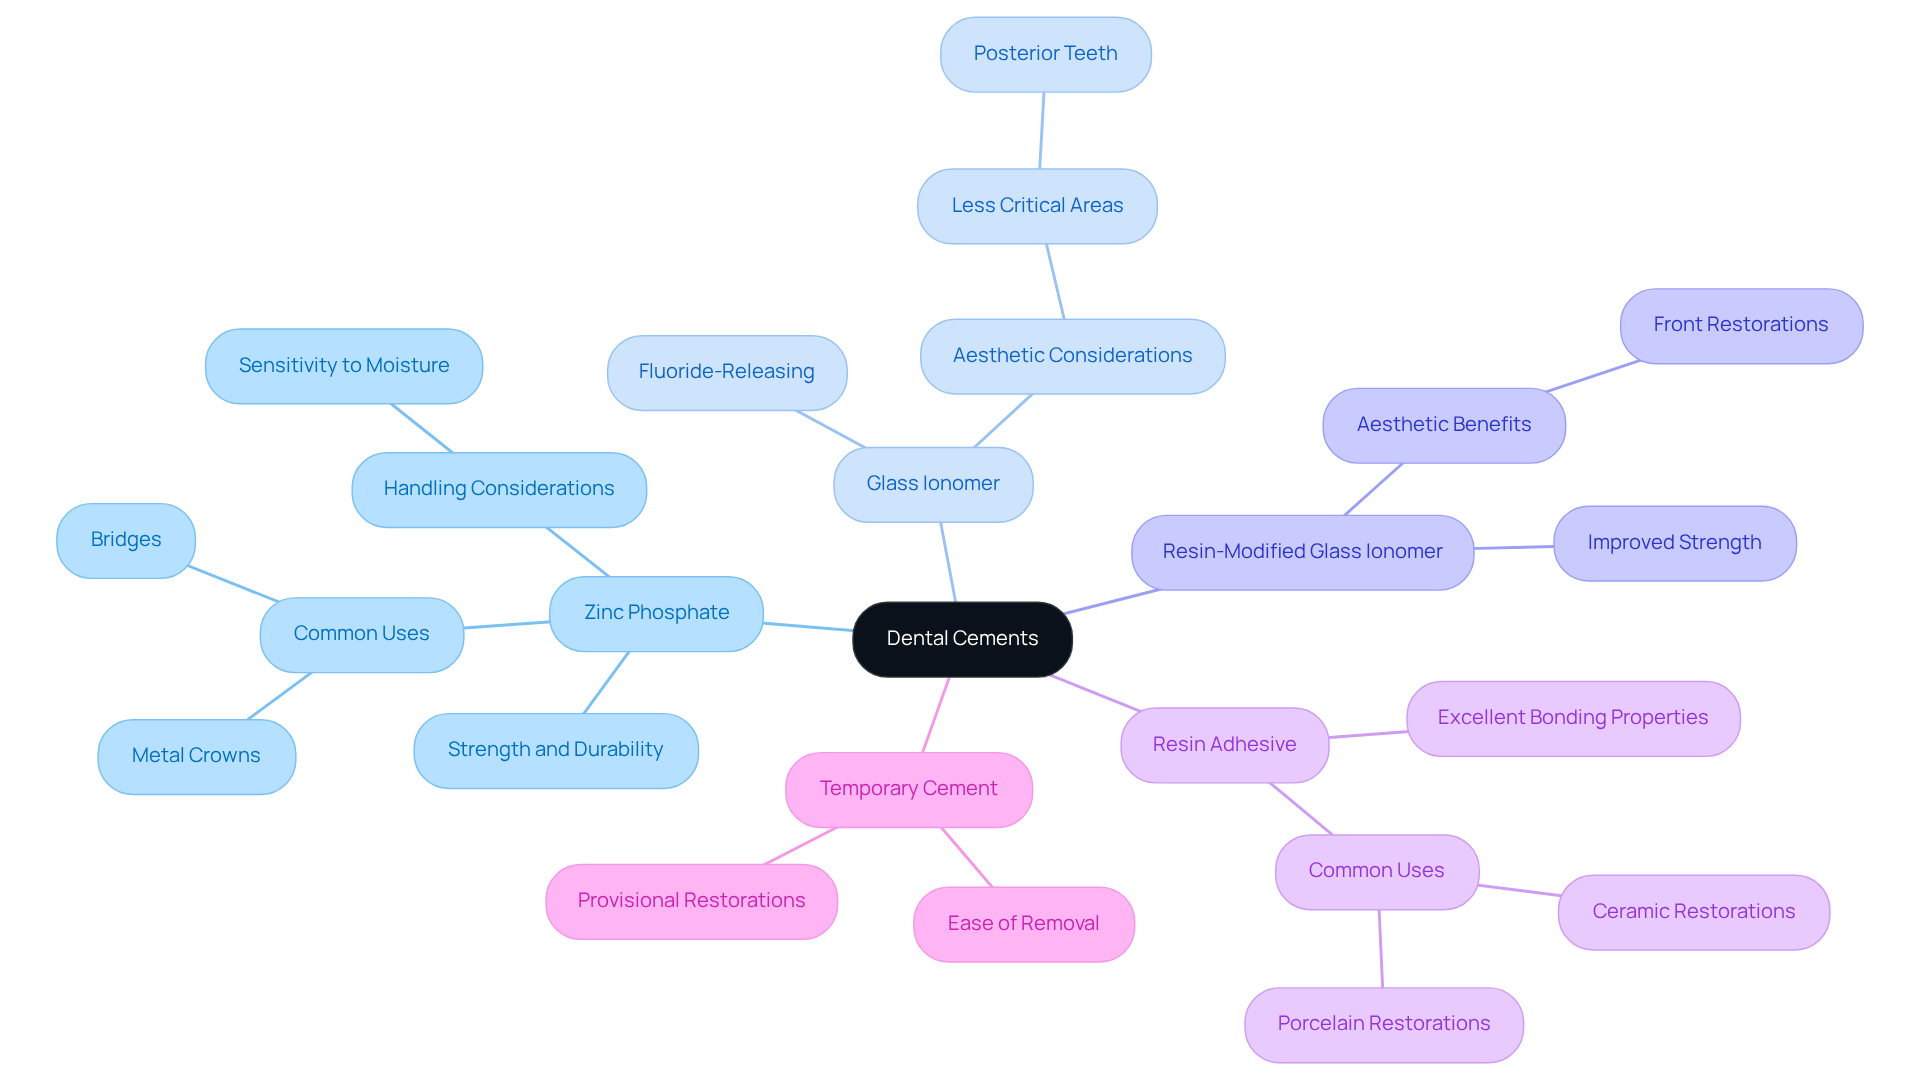
Choosing the right dental cement can feel overwhelming, especially when considering the long-term impact on your oral health. When it comes to your dental health, understanding the role of tooth support materials can bring peace of mind. Let’s explore the different types of dental cements, so you can feel confident in your choices:
- Zinc Phosphate Material: Known for its strength and durability, this traditional substance is commonly used for metal crowns and bridges. It provides a robust bond but requires careful handling due to its sensitivity to moisture.
- Glass Ionomer Material: This substance is remarkable for its fluoride-releasing characteristics, which assist in safeguarding the tooth structure. It is particularly suitable for areas where aesthetics are less critical, such as posterior teeth.
- Resin-Modified Glass Ionomer Material: Merging the benefits of glass ionomer and resin, this substance provides improved strength and appearance, making it perfect for front restorations.
- Resin Adhesive: Preferred for its excellent bonding properties, particularly with ceramic and porcelain substances, resin adhesive is frequently utilized for aesthetic restorations where a robust bond is crucial.
- Temporary Cement: This type is utilized for provisional restorations, allowing for easy removal and adjustments before final cementation.
By understanding these materials and their unique roles, you can choose the right one for your needs, ensuring your restorations are both durable and effective. As the dental adhesive market continues to grow, staying informed about your options will empower you to make the best choices for your oral health. While there may be challenges in navigating costs and handling, remember that you’re not alone in this journey; we’re here to help you every step of the way. By understanding your options, you can make informed choices that support your dental health for years to come.
Prepare Effectively: Steps for Successful Cement Application
Preparing for tooth bridge cement can feel overwhelming, but with the right steps, you can ensure a smooth and successful experience.
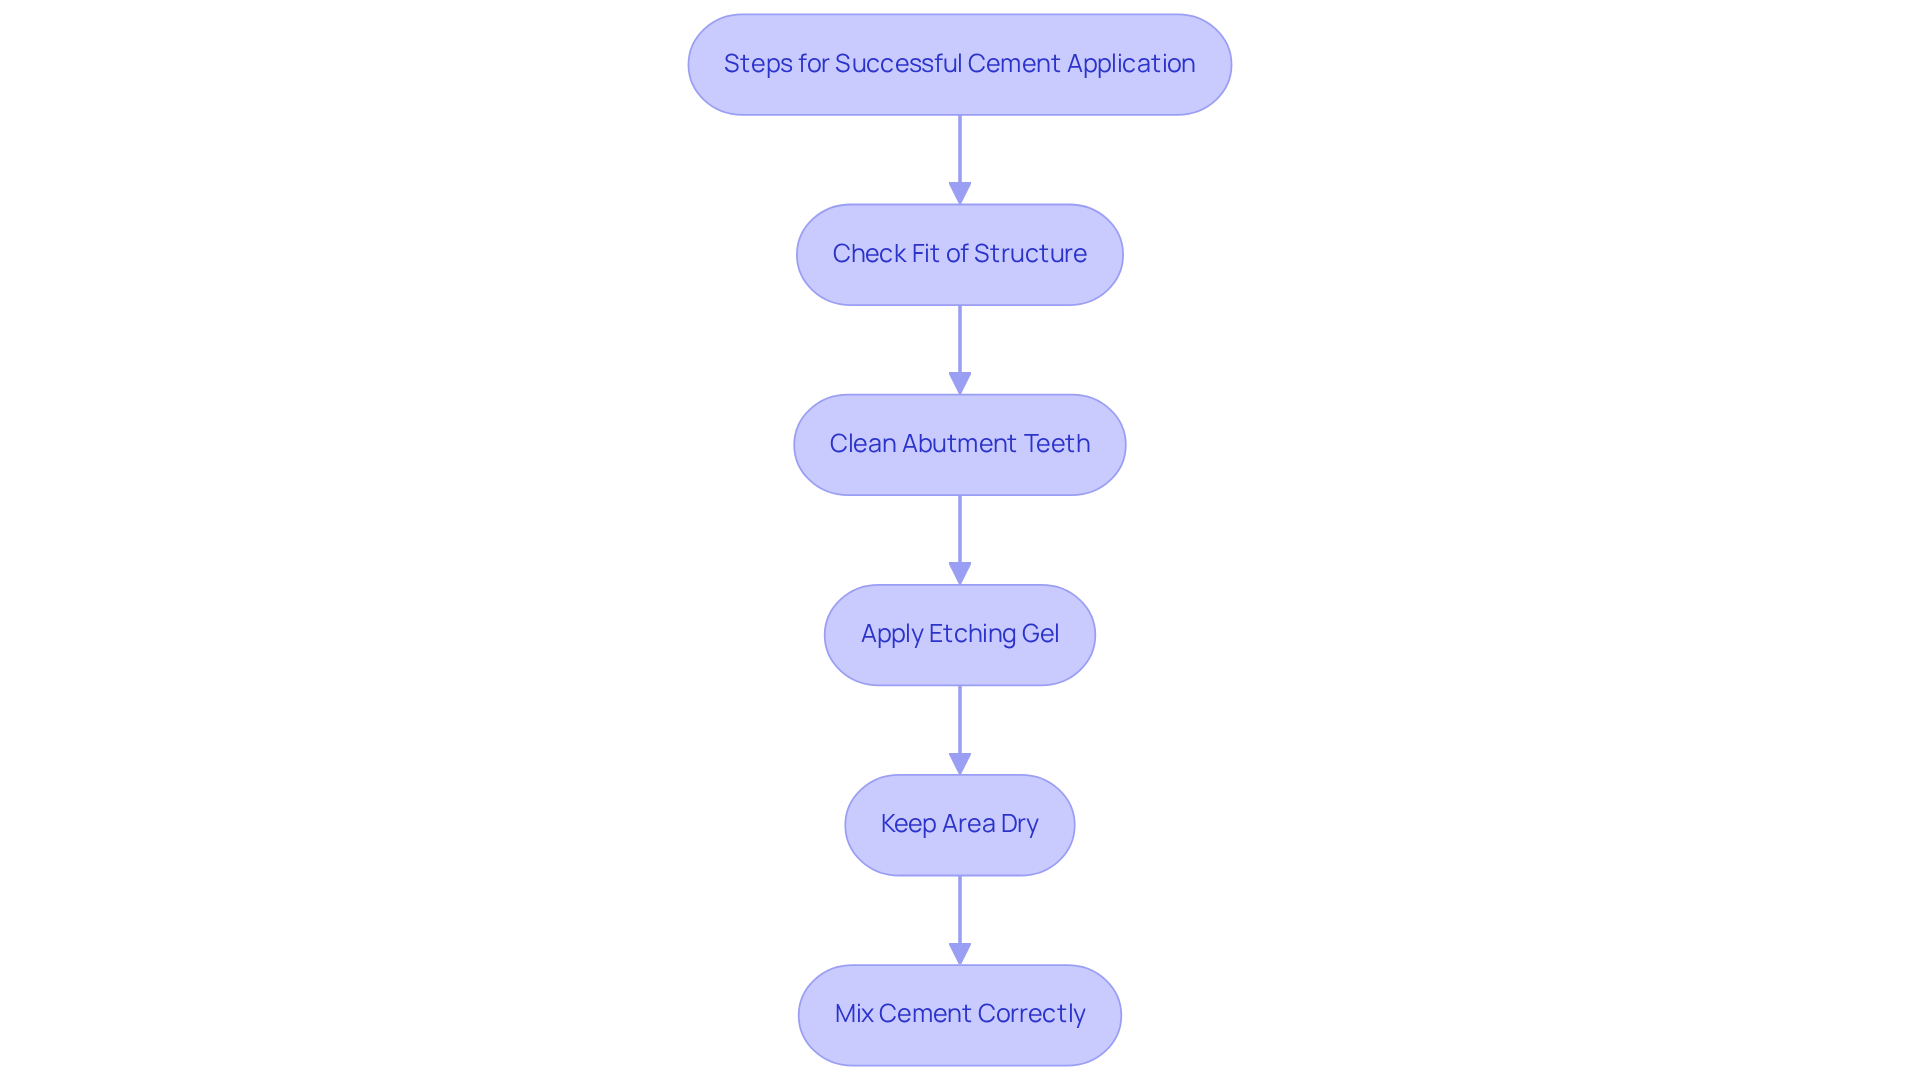
We understand that ensuring a snug fit for your dental structure is important for your comfort and peace of mind. Begin by checking the fit of the structure on the abutment teeth. Adjust contacts as necessary to achieve a snug fit, which is crucial for stability. Improper seating can lead to discomfort or failure of the bridge over time, and we want to help you avoid that.
To help ensure a successful bond with the tooth bridge cement, it’s essential to thoroughly clean the abutment teeth, which can alleviate any worries about discomfort later on. This can be accomplished using pumice and water, followed by rinsing and drying to ensure a pristine surface. Failing to clean the tooth adequately can weaken the bond of the tooth bridge cement, raising the risk of washout, and we know that’s a concern for many patients.
Using etching gel can feel like an extra step, but it’s a crucial part of ensuring a strong bond that you can trust. For resin adhesives, applying etching gel on the rear surfaces of the abutment teeth enhances bonding by creating a roughened surface that improves adhesion.
Keeping the area dry during the tooth bridge cementation process is vital, and we’re here to ensure that everything is done to protect your comfort and the integrity of your dental work. Utilize a rubber dam or cotton rolls to isolate the area, as moisture can significantly compromise the bond strength of the concrete, leading to potential failure. As Dr. Tufankjian notes, “Meticulous planning and a partnership between the patient and dental team are crucial for success.”
Mixing the concrete correctly is essential, and we’ll guide you through this process to ensure the tooth bridge cement meets your needs perfectly. Carefully follow the manufacturer’s instructions for blending the concrete. Achieving the correct consistency of tooth bridge cement is vital, as cement that is too thick or too runny can adversely affect the bond. Research indicates that appropriate cementation methods can result in a success rate exceeding 95% for implants after 10 years.
By following these steps, you can feel confident that your dental team is committed to your comfort and the longevity of your dental work.
Apply with Precision: Expert Techniques for Cementing Bridges
We understand that the thought of tooth restoration can be daunting, especially when precision is key to your comfort and health. At Westborough Dental Care, we use advanced technologies like the Primescan and CEREC Mill to ensure your experience is as smooth as possible. Here are some expert techniques to follow:
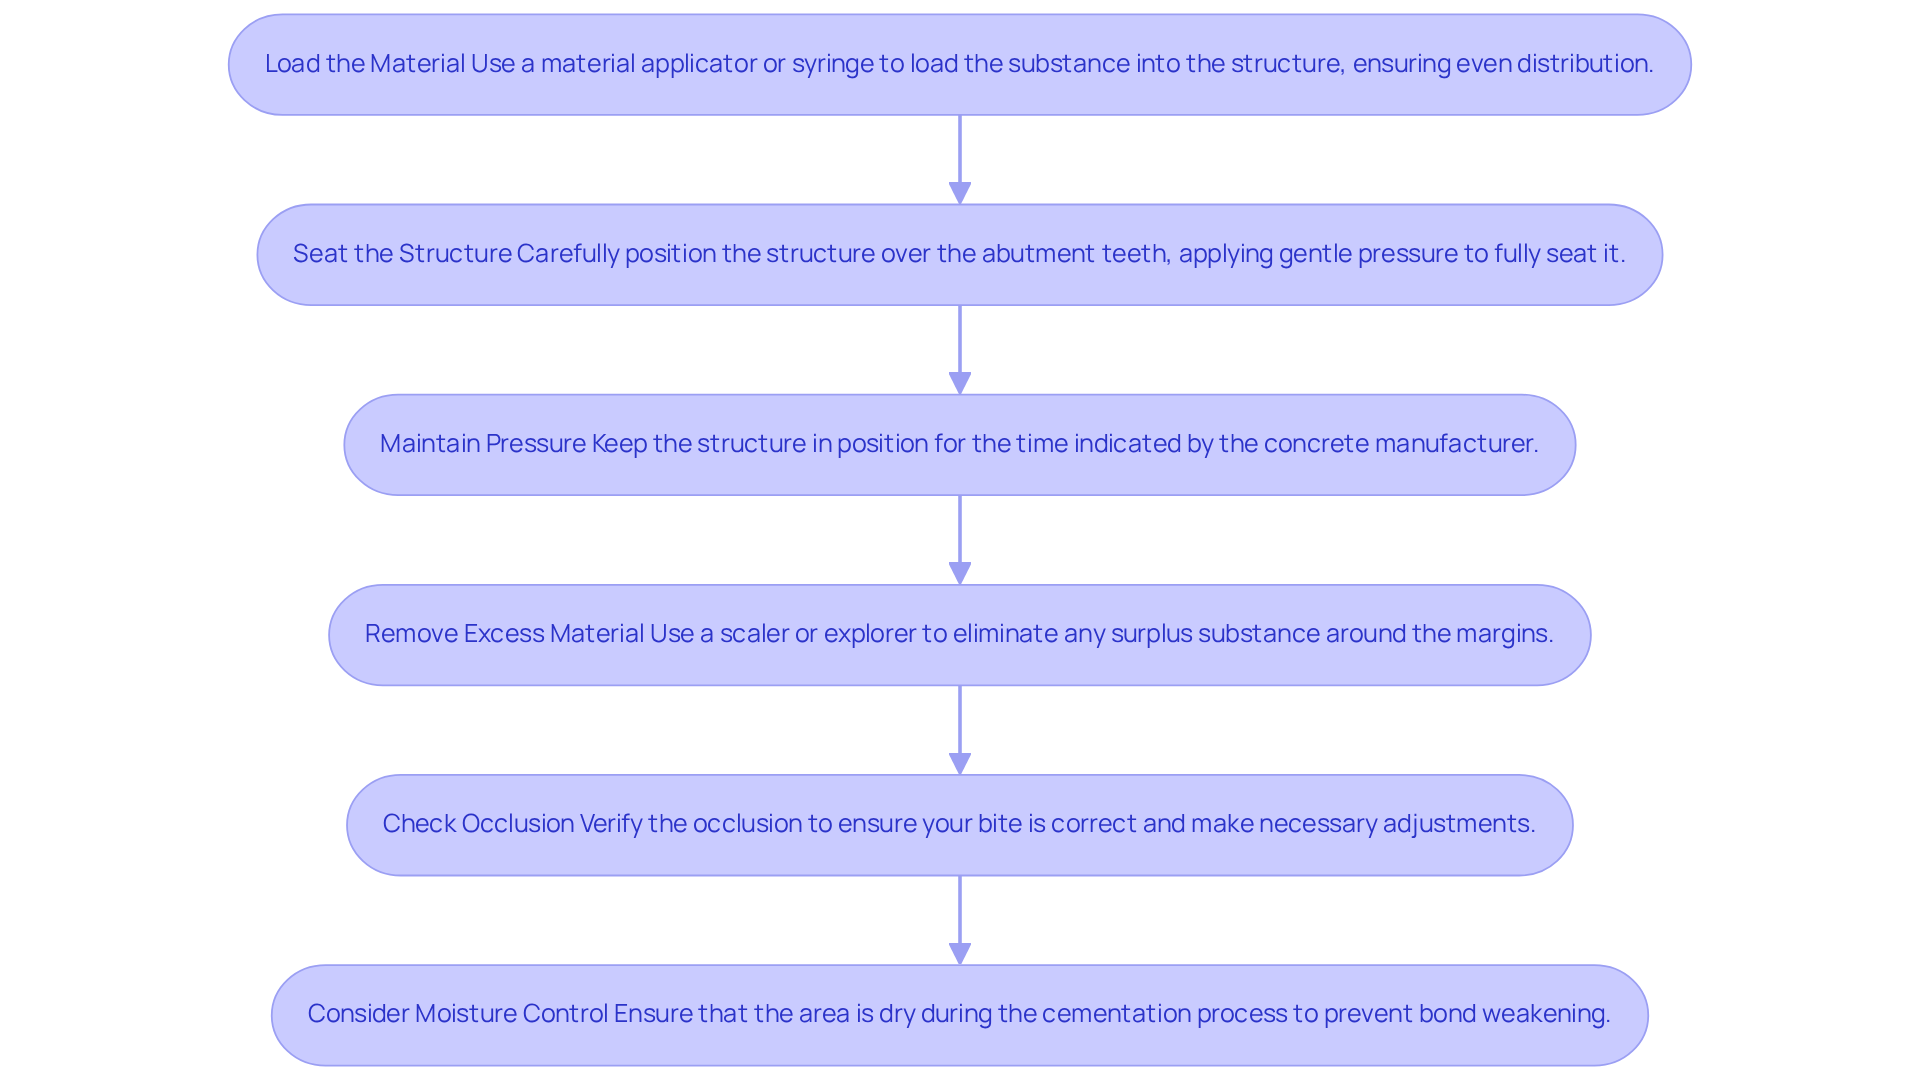
- Load the Material: Use a material applicator or syringe to load the substance into the structure, ensuring even distribution. This helps avoid voids that could compromise the bond strength, giving you peace of mind.
- Seat the Structure: Carefully position the structure over the abutment teeth, applying gentle pressure to fully seat it. This ensures proper alignment, which is crucial for your comfort.
- Maintain Pressure: Keep the structure in position for the time indicated by the concrete manufacturer. This allows the mixture to cure properly, ensuring a strong bond that you can rely on.
- Remove Excess Material: After seating the bridge, use a scaler or explorer to eliminate any surplus substance around the margins. This step is vital to prevent gum irritation and maintain aesthetics, so you can feel confident in your smile.
- Check Occlusion: Once the cement has set, verify the occlusion to ensure your bite is correct. Making necessary adjustments helps prevent discomfort, ensuring your experience is as pleasant as possible.
- Consider Moisture Control: Ensure that the area is dry during the cementation process. Moisture contamination can weaken the bond, so proper surface preparation is essential for effective adhesion.
By following these expert techniques, you can trust that your dental team is dedicated to enhancing your experience and ensuring the best possible outcome for your restoration. With the Primescan technology allowing same-day crowns and structures, mastering these techniques is essential for the longevity of your restorations. Remember, studies indicate that 80% of crown failures are attributed to issues with tooth bridge cement, underscoring the importance of selecting the right materials and staying updated with advancements in cementation techniques. By mastering these techniques, you can feel confident that your restoration will not only look great but also stand the test of time, ensuring your smile remains bright and healthy.
Maintain and Care: Post-Application Strategies for Longevity
We understand that maintaining your dental restoration can feel overwhelming, but you are not alone in this journey. Proper upkeep is crucial for ensuring its durability, and we’re here to help you with effective strategies to follow:
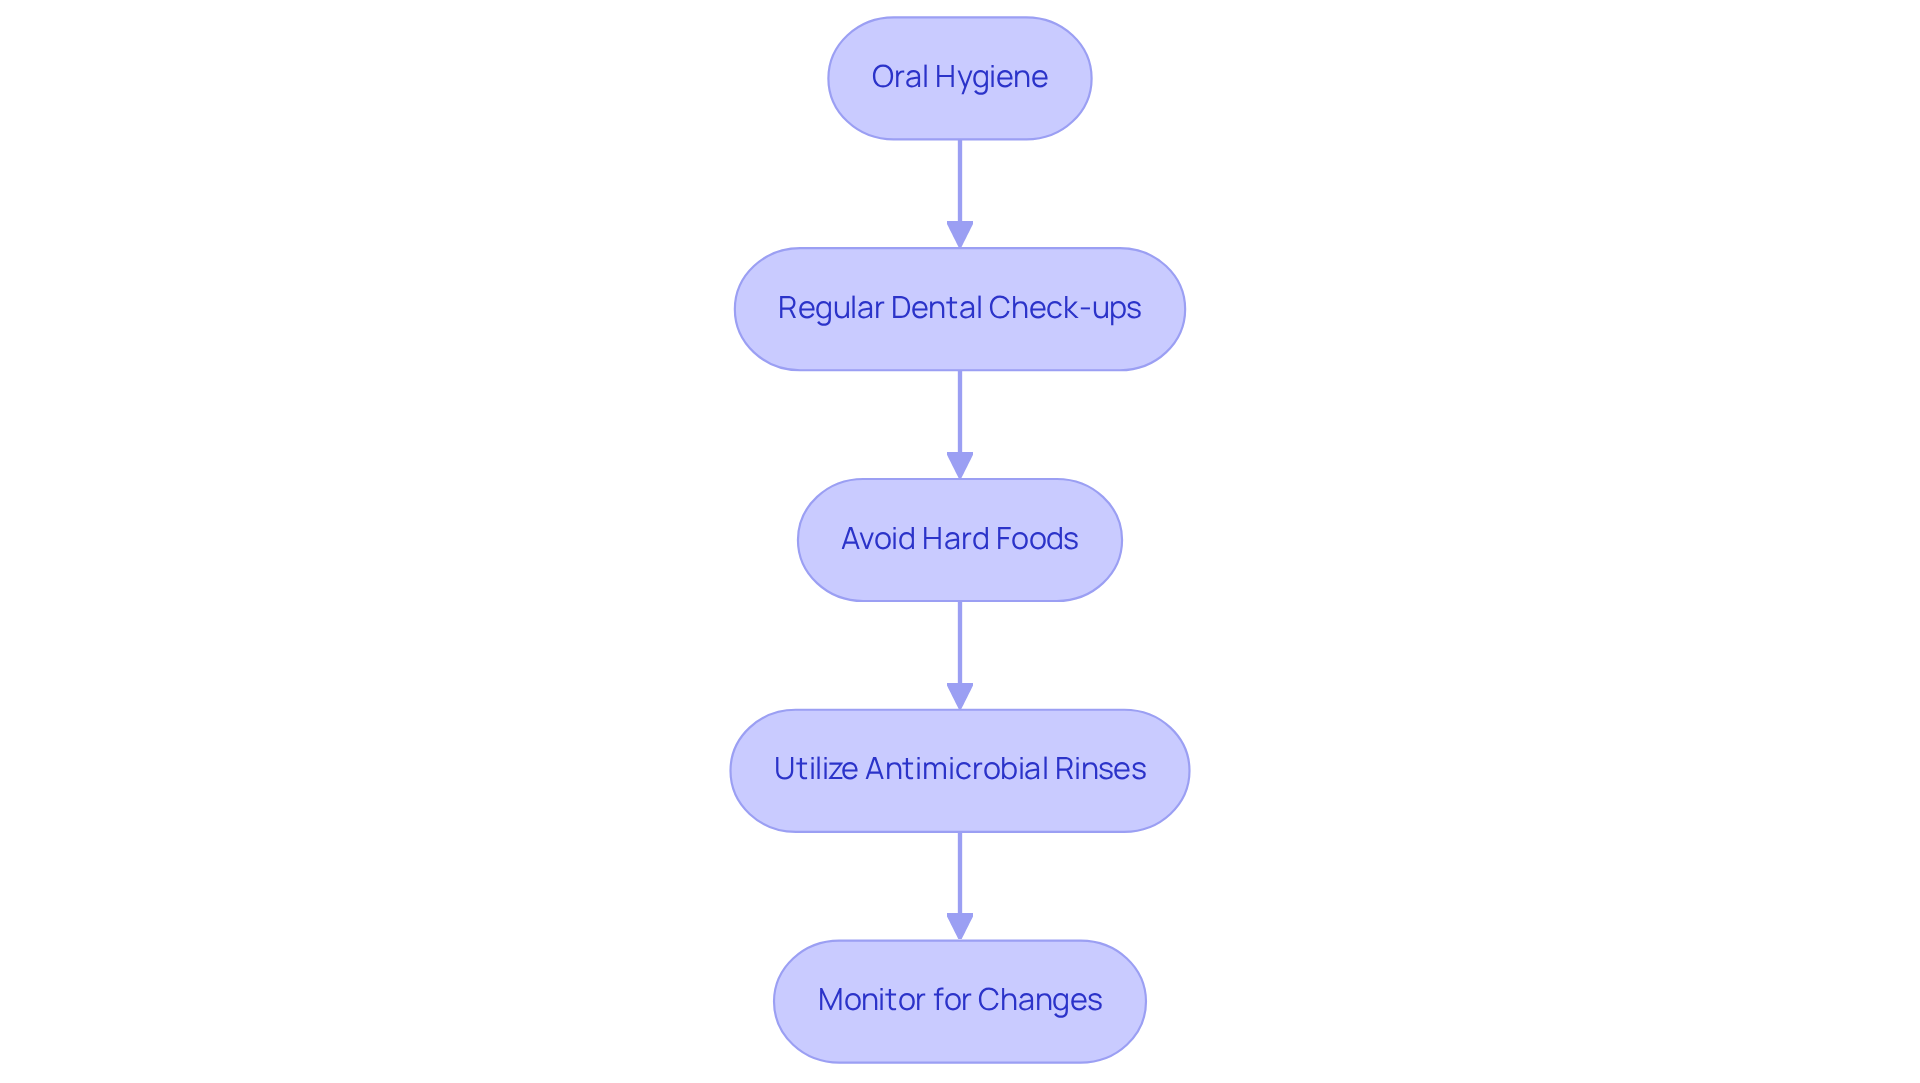
- Oral Hygiene: It’s important to keep up with your oral hygiene. We recommend brushing twice a day with fluoride toothpaste and flossing regularly. Be sure to pay special attention to cleaning around the structure and abutment teeth to prevent plaque buildup.
- Regular Dental Check-ups: Regular dental visits are essential for keeping your smile healthy. These appointments, part of the extensive preventative dentistry services at Westborough Dental Care, including oral cancer screenings, allow for early identification of any concerns related to your dental structure or surrounding teeth, promoting long-term health.
- Avoid Hard Foods: We advise you to steer clear of hard or sticky foods that could displace your dental work or harm the tooth bridge cement. This simple precaution helps maintain the integrity of your restoration and prevents unnecessary repairs.
- Utilize Antimicrobial Rinses: Adding antimicrobial mouth rinses to your daily habits can help minimize plaque accumulation around your dental structure, further safeguarding your supporting teeth and improving overall oral health.
- Monitor for Changes: It’s important to be vigilant about any changes in the fit or comfort of your dental appliance. If you notice any discomfort or feel that your restoration is loose, please don’t hesitate to contact your dentist right away. If there’s no improvement in how your oral prosthesis feels after a week, seeking advice from your dentist is a good idea.
By applying these post-application strategies, you can significantly prolong the lifespan of your oral restorations, which can last on average about 10 years with proper care, and maintain optimal oral health. As Dr. Danny O’Keefe emphasizes, “Good aftercare of a dental bridge can make a major difference for overall dental health and wellness.” By following these simple steps, you can ensure your restoration remains a source of confidence and comfort for years to come.
Conclusion
Many patients feel anxious about their dental restorations, wondering if they will last and provide the support they need. Understanding the best practices for using tooth bridge cement can help alleviate these worries, ensuring that your dental bridges fit well and offer long-lasting support. When you choose the right type of cement and follow careful application techniques, you can significantly enhance the bond strength, contributing to a healthier smile.
We understand that proper preparation, like cleaning the abutment teeth and keeping everything dry, is crucial to avoid complications. Throughout this article, we’ve shared key insights about various types of tooth bridge cement, including:
- Zinc phosphate
- Glass ionomer
- Resin adhesives
Each serves a unique function in dental restorations, and knowing how to use them effectively can make a world of difference.
Maintaining dental bridges requires ongoing care and attention. Regular oral hygiene practices, routine dental check-ups, and mindful eating habits can significantly extend the lifespan of these restorations. By taking these steps, you can feel confident in your dental care and enjoy a healthy, radiant smile for years to come. Embracing these best practices empowers you to take charge of your dental health, ensuring that your smile remains bright and healthy.
Frequently Asked Questions
What is the importance of choosing the right dental cement?
Choosing the right dental cement is crucial for long-term oral health, as it impacts the durability and effectiveness of dental restorations.
What are the different types of dental cements mentioned in the article?
The article mentions five types of dental cements: Zinc Phosphate Material, Glass Ionomer Material, Resin-Modified Glass Ionomer Material, Resin Adhesive, and Temporary Cement.
What are the characteristics of Zinc Phosphate Material?
Zinc Phosphate Material is known for its strength and durability, commonly used for metal crowns and bridges, but it requires careful handling due to its sensitivity to moisture.
How does Glass Ionomer Material benefit dental health?
Glass Ionomer Material releases fluoride, which helps protect tooth structure, making it suitable for areas where aesthetics are less critical, such as posterior teeth.
What advantages does Resin-Modified Glass Ionomer Material offer?
Resin-Modified Glass Ionomer Material combines the benefits of glass ionomer and resin, providing improved strength and appearance, making it ideal for front restorations.
Why is Resin Adhesive preferred for certain restorations?
Resin Adhesive is preferred for its excellent bonding properties, especially with ceramic and porcelain materials, making it ideal for aesthetic restorations where a strong bond is essential.
What is the purpose of Temporary Cement?
Temporary Cement is used for provisional restorations, allowing for easy removal and adjustments before final cementation.
How can understanding dental cements empower patients?
By understanding the different types of dental cements and their unique roles, patients can make informed choices that support their dental health and ensure durable restorations.
Need help applying this?
Talk to a billing specialist who knows your payer mix.
Westborough Dental Care welcomes new patients in South San Francisco. Book a visit to meet Dr. Zoulas and the team.
Schedule a meeting