
Oral Health and Wellness
How to Use Tooth Bridge Glue: A Step-by-Step Guide
Introduction
Feeling anxious about dental procedures like installing a tooth bridge is completely normal. Navigating the world of dental care can often feel overwhelming, especially when you’re faced with the details of the process. We’re here to guide you through a simple, step-by-step approach to applying tooth bridge glue, so you can tackle the installation process with confidence.
It’s natural to worry about what happens if the glue doesn’t hold or if the bridge feels unstable. By addressing these concerns, you can ensure a smoother and more reassuring dental experience.
Gather Necessary Tools and Materials
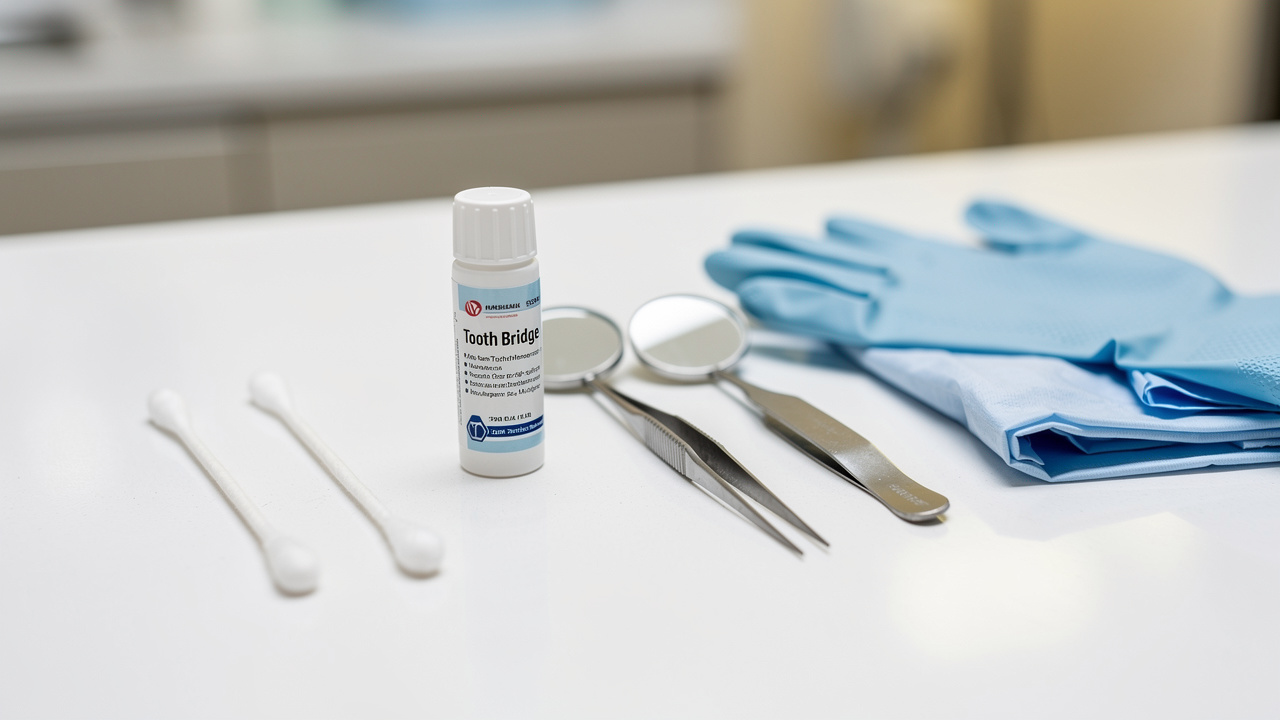
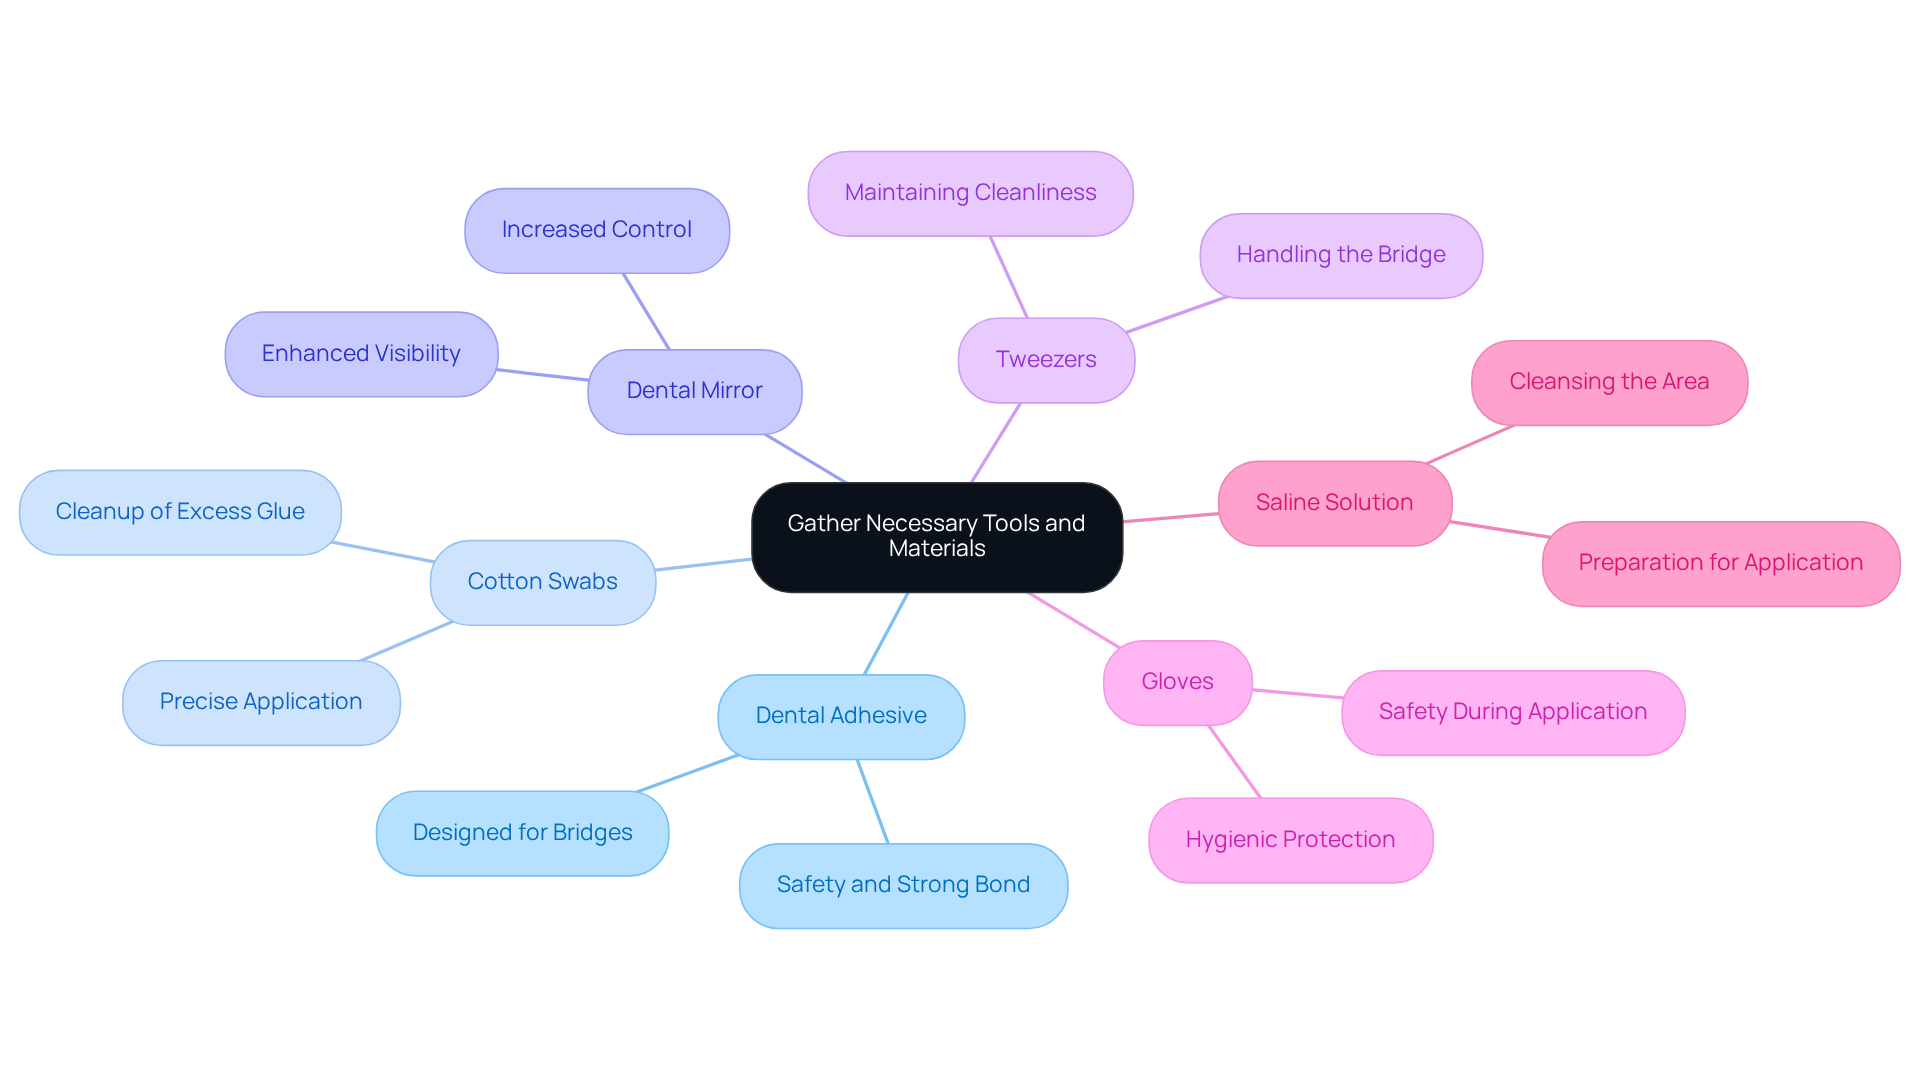
We understand that the thought of using tooth bridge glue can be daunting, but gathering the right tools can make the process smoother and more manageable. First, you’ll want to choose a dental adhesive, specifically tooth bridge glue, that’s designed for bridges. This ensures safety and a strong bond, giving you peace of mind during the process.
- Cotton swabs can be incredibly helpful for applying the tooth bridge glue precisely and cleaning up any excess, making the process feel more controlled and less stressful.
- A dental mirror can help you see the area more clearly, which can ease your mind and help you feel more in control as you work.
- Tweezers are great for handling the bridge without getting glue on your fingers, helping you keep everything clean and organized.
- Wearing gloves is an important step to keep everything hygienic, ensuring you feel safe and protected throughout the process.
- Rinsing the area with saline solution beforehand helps ensure everything is clean and ready, which can help ease any worries you might have.
Experts emphasize that effective bonding is essential, as many restoration failures can lead to anxiety. Knowing you’re using the right tools can help you feel more secure in your choices. Taking the time to clean and prepare your tools can help you feel more organized and ready, making the process less overwhelming. Staying updated on the latest adhesive innovations can boost your confidence and ensure you’re using the best options available.
Clean the Dental Bridge and Surrounding Area
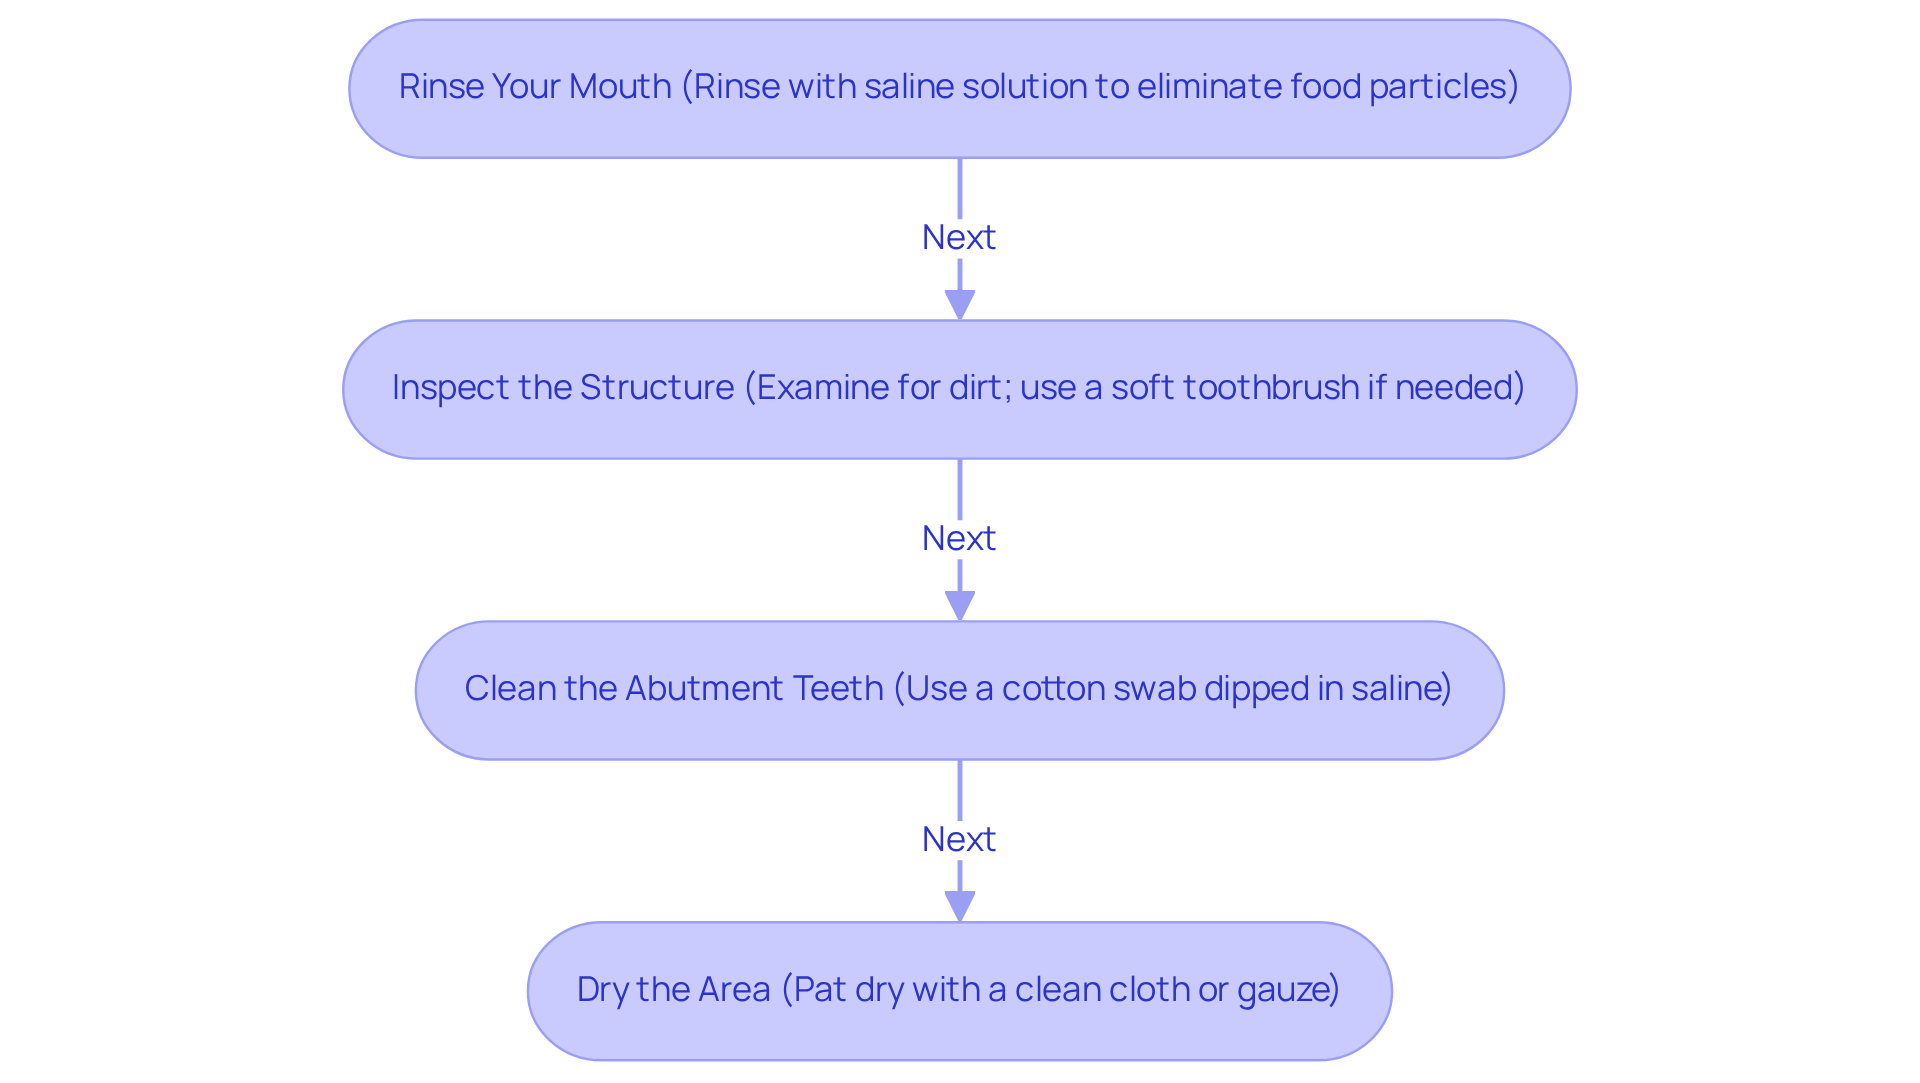
Cleaning your dental bridge might feel overwhelming, but it’s essential for your peace of mind and oral health. Here are some comforting steps to guide you:
- Rinse your mouth: Begin by rinsing your mouth with a saline solution to eliminate any food particles or debris that may have accumulated. This simple step can help you feel refreshed and ready to care for your dental bridge.
- Inspect the structure: Carefully examine the structure for any visible dirt or residue. If needed, use a soft toothbrush to gently clean the surface, ensuring it remains free from plaque and buildup. Remember, taking this time for yourself is important.
- Clean the abutment teeth: Gently use a cotton swab dipped in saline to clean the surfaces of the abutment teeth, ensuring they’re fresh and ready to support your bridge. This step is crucial for creating a clean bonding surface for the tooth bridge glue, ensuring you have peace of mind.
- Dry the area: After cleaning, gently pat the area dry with a clean cloth or gauze. This guarantees that the adhesive sticks correctly, fostering a secure connection for the structure.
By incorporating these gentle cleaning techniques, you’re taking an important step to ensure your oral restoration remains strong and healthy. Regular cleaning helps prevent plaque accumulation and potential decay in the supporting teeth, ensuring optimal oral health. For best results, consider using specialized tools like interdental brushes or water flossers to reach tight spaces and enhance your cleaning routine. Daily flossing beneath the dental appliance is essential for maintaining oral health, and neglecting care can lead to significant issues, including decay in supporting teeth. Furthermore, at Westborough Dental Care, we suggest arranging professional cleanings every six months to maintain the health of your oral structure and adjacent teeth. Our hygienists will evaluate your gum health and offer a written summary of findings, costs, and insurance coverage, ensuring you are well-informed and supported in your oral care journey.
Apply Tooth Bridge Glue Correctly
Although applying tooth bridge glue can feel daunting, we’re here to guide you through it.
- Prepare the bonding agent: Follow the manufacturer’s instructions for mixing or preparing the bonding material. This ensures everything works as it should.
- Apply the glue: With a cotton swab, spread a thin, even layer of adhesive on the inner surface of the dental support. Avoid applying too much, as this can lead to overflow during placement.
- Place the structure: Carefully align the structure over the abutment teeth, ensuring it’s positioned correctly for stability.
- Apply light pressure: Use your fingers or tweezers to gently press down, making sure the connector fully contacts the glue and the underlying teeth.
- Eliminate surplus glue: If any glue oozes out, quickly clean it with a cotton swab before it hardens to keep everything neat.
When you apply the tooth bridge glue correctly, it helps ensure that your dental restorations last longer, giving you one less thing to worry about. It’s important to know that many crown failures stem from improper cement application, but we can help you avoid that. Regular check-ups are a great way to keep your dental work in top shape and catch any issues early, so you can feel confident about your smile. Remember, proper care involves brushing twice a day with fluoride toothpaste and flossing beneath the structure with floss threaders or a water flosser to maintain your oral health.

Secure the Bridge in Place
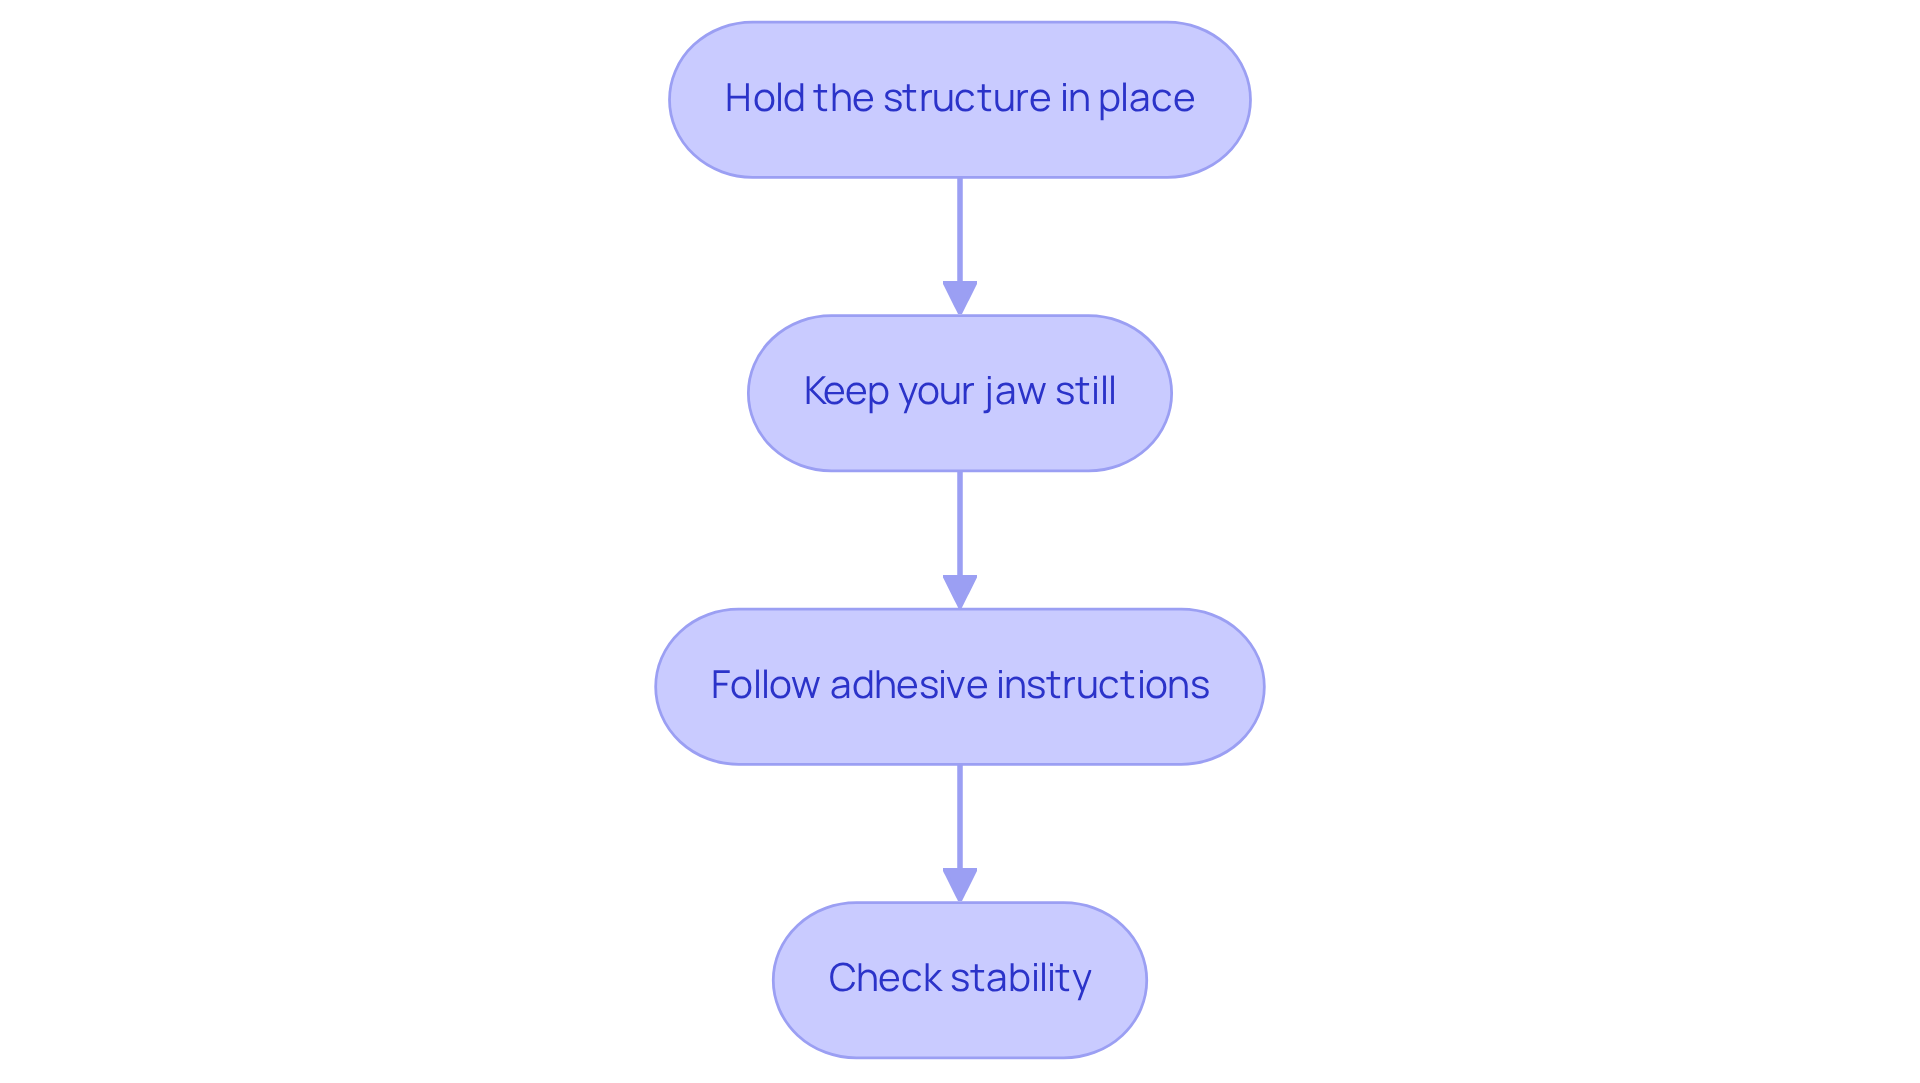
To secure your dental bridge, it’s important to take a few careful steps to ensure everything goes smoothly.
- Gently hold the structure in place, allowing the tooth bridge glue to set and form a strong bond.
- We understand it can be tough, but try to keep your jaw still during this time; it’s important for the best results.
- Please refer to the adhesive’s instructions for how long to wait; avoiding food and drink during this time will help the tooth bridge glue cure properly.
- After the recommended time, gently check how stable the structure feels; if it seems secure, you can go back to your normal activities with confidence.
Monitor and Care for Your Dental Bridge
Taking care of your dental bridge is essential for your comfort and confidence.
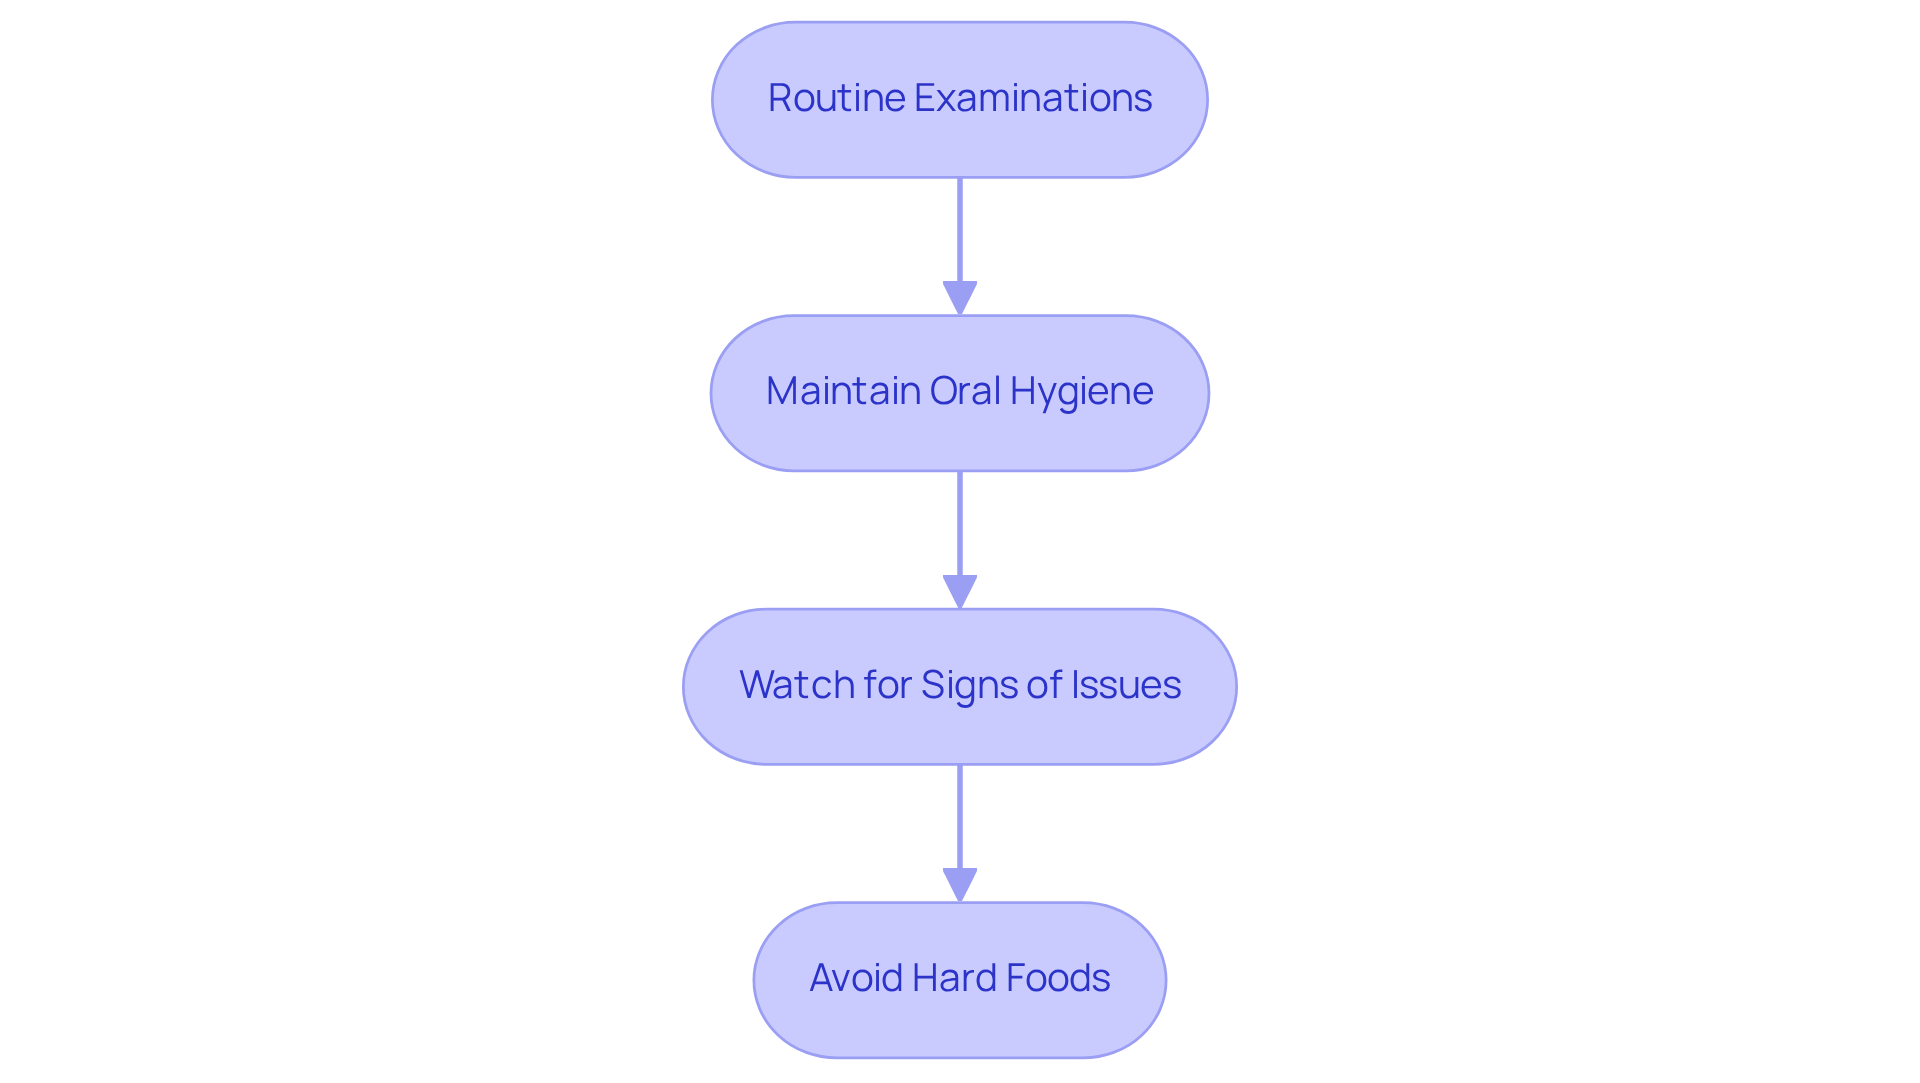
- Routine examinations: We recommend scheduling visits every six months at Westborough Dental Care. Regular check-ups are vital for keeping your dental bridge strong and healthy. These visits help detect early signs of decay or gum issues that could affect its longevity. You are not alone in this; we’re here to support you in maintaining your oral health.
- Maintain oral hygiene: It’s important to brush your teeth at least twice a day with a soft-bristled toothbrush and fluoride toothpaste. Flossing daily is also crucial. Using a floss threader or Super Floss can help you clean around your dental appliance effectively, removing plaque that brushing alone might miss. Research shows that thorough cleaning can greatly decrease plaque and inflammation around oral work, ensuring your bridge stays in great shape.
- Watch for signs of issues: It’s important to pay attention to how your dental bridge feels; if something seems off, don’t hesitate to reach out. Signs like discomfort, looseness, or changes in fit can indicate the need for a dental appointment. Addressing these signs promptly can prevent more serious complications that may affect your overall oral health.
- Avoid hard foods: In the initial days following application, it’s best to stick to a soft diet to prevent dislodging or harming your dental structure. Chewing hard foods can compromise its integrity, so being cautious during this adjustment period is wise. Additionally, steering clear of sticky and sugary foods can help lower the risk of decay around your dental bridge.
By following these guidelines, you can enjoy peace of mind knowing your dental bridge is well cared for.
Conclusion
We understand that using tooth bridge glue can feel overwhelming, but you are not alone in this journey. With the right guidance, you can easily apply tooth bridge glue, creating a strong bond that supports your smile. By taking these steps, you’ll feel empowered to manage your dental care with confidence and ease.
Key points discussed include the importance of gathering the necessary tools, such as:
- Dental adhesive
- Cotton swabs
- A dental mirror
to facilitate a smooth application process. Additionally, maintaining cleanliness before and after the application is crucial for the longevity of the dental bridge. Regular monitoring and care, including routine check-ups and proper oral hygiene practices, are essential for ensuring the health and stability of the bridge over time.
Taking these steps not only supports your dental health but also brings you peace of mind, knowing you’re in control of your care.
Frequently Asked Questions
What tools are necessary for using tooth bridge glue?
Necessary tools include dental adhesive specifically designed for bridges, cotton swabs for precise application, a dental mirror for better visibility, tweezers for handling the bridge, gloves for hygiene, and saline solution for rinsing the area.
Why is it important to clean the dental bridge and surrounding area?
Cleaning the dental bridge and surrounding area is essential for oral health and ensures a secure bond for the tooth bridge glue, preventing plaque accumulation and potential decay in supporting teeth.
What steps should I follow to clean my dental bridge?
To clean your dental bridge, rinse your mouth with saline, inspect the structure for dirt, gently clean with a soft toothbrush, use a cotton swab to clean the abutment teeth, and pat the area dry with a clean cloth or gauze.
How can I ensure effective bonding when applying tooth bridge glue?
Effective bonding can be ensured by cleaning the dental bridge and abutment teeth thoroughly, drying the area before application, and using the right dental adhesive designed for bridges.
What additional cleaning tools can enhance my dental care routine?
Additional tools that can enhance your cleaning routine include interdental brushes and water flossers, which help reach tight spaces, as well as daily flossing beneath the dental appliance.
How often should I arrange professional cleanings for my dental health?
It is recommended to arrange professional cleanings every six months to maintain the health of your oral structure and adjacent teeth.
Need help applying this?
Talk to a billing specialist who knows your payer mix.
Westborough Dental Care welcomes new patients in South San Francisco. Book a visit to meet Dr. Zoulas and the team.
Schedule a meeting